

Fred's Appliance
November 7, 2016
Cooking
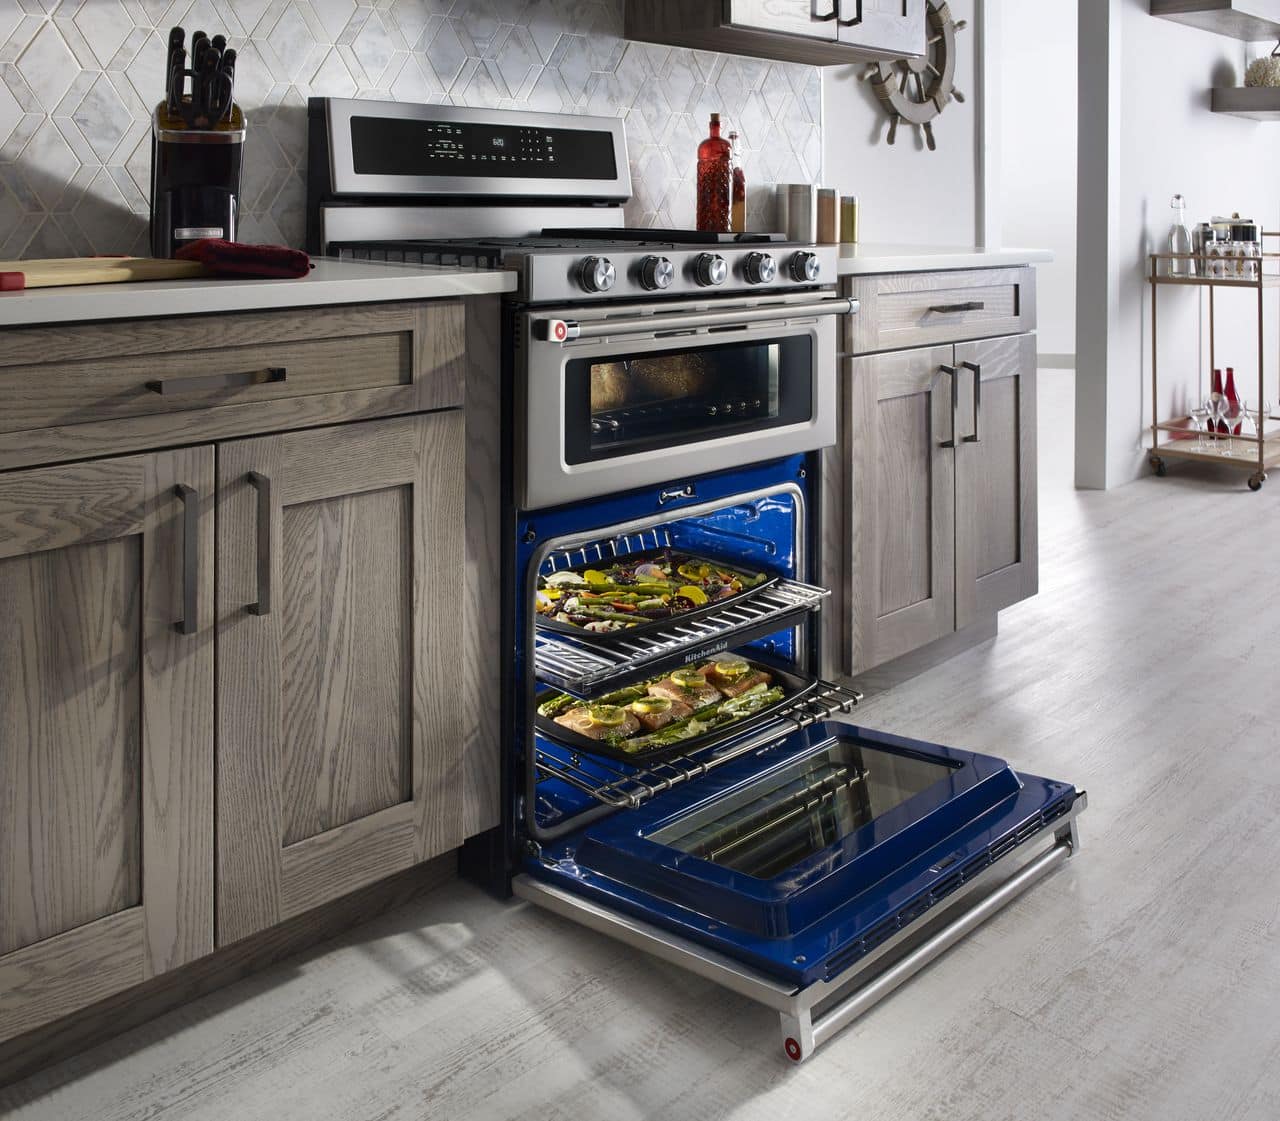
Rosemary has never owned a new oven. She has never known the pure joy of cooking with a newer appliance. But Rosemary just won a ton of money at the Ohio State Lottery! She decides to upgrade her home appliances. In particular, because of her love for cooking, she bucks up for 10 grand on a 48-inch, 6-burner, 2-oven, ever-loving monster of a cooking machine. Maybe a bit extravagant for a family of four but why not get the best? As the fresh, cool, wet autumn air reminds her that summer is over, that even in the middle of October, hints of colder days are ahead. Rosemary insists on preparation for the Holidays. It will be as easy as apple pie with her new KitchenAid commercial-style oven. Now all Rosemary needs are a couple of recipe’s to try out in her new range. We’ve included two great holiday treats for immediate consumption.
Apple Pancake
Your senses will savor each molecule of flavor as the aroma of apple and cinnamon pour through the kitchen. A 10-inch cast iron skillet is the ideal choice to cook the apple pancake because the final step has it baking in a 425-degree oven. This recipe makes one puffy 10-inch pancake.
- 6 tablespoons (3/4 stick) butter
- 3 large apples, peeled, cored, and sliced (McIntosh or Fuji apples are the best but feel free to try other tart apples)
- 3 tablespoons (about 1 lemon) fresh lemon juice
- 1 teaspoon vanilla
- 1/4 teaspoon cinnamon
- About 5 tablespoons confectioners’ sugar (depending on the sweetness of the apples)
- 3 eggs, room temperature
- 1/4 teaspoon salt
- 1/2 cup all-purpose flour
- 1/2 cup milk
Preheat the oven to 425 degrees.
Melt the butter in your oven friendly 10-inch skillet and remove from heat. Set aside 2 tablespoons of butter in a small dish to be used later.
In a large bowl, place apple slices, lemon juice, vanilla, cinnamon, and confectioners’ sugar. Mix until apples are well coated. Return the skillet to the burner and turn to medium heat. Add the apple mixture and cook until apples are tender but still maintain their shape. Remember to stir often.
Using a blender, or a food processor, combine the eggs, salt, flour, milk, and the 2 tablespoons of remaining butter. Beat until very smooth.
Ensure apples are laying evenly on the bottom of the skillet and pour the batter on top. Place skillet in the oven and bake for about 20 minutes, or until golden brown and puffy. Turn the apple pancake on a warm platter so the apples are on top. Dust with confectioners’ sugar and serve at once.
Variation: Just before adding batter mixture, add 1/2 cup of blueberries to apple mixture.
Blueberry Cranberry Bread
Blueberries and cranberries complement each other perfectly in this robust and appetizing loaf.
- About 2 tablespoons water
- 3/4 cup granulated sugar
- 1 cup fresh cranberries
- 1 cup brown sugar
- 8 tablespoons (1 stick) butter, room temperature
- 2 eggs
- 1 cup buttermilk
- 3 cups all-purpose flour
- 1 teaspoon baking soda
- 1 teaspoon baking powder
- 1 teaspoon salt
- 1 cup blueberries
Preheat the oven to 375 degrees. Lightly grease a 9 x 5 x 3-inch loaf pan. Please do not use olive oil as it tends to give the loaf a burnt taste.
The next task can be a bit tricky if you’ve never done it before. In the following order, combine the water and sugar in a small skillet and cook over medium heat, stirring often until the sugar melts. Do not allow it to caramelize. After the sugar has melted, add cranberries. Continue cooking over medium heat and stirring often until cranberries begin to break down. Remove from heat and allow to cool.
Blend together the brown sugar and butter in your KitchenAid Mixer. Add eggs and continue blending. Stir in buttermilk.
In a medium size bowl, put flour, baking soda, baking powder, and salt and using a whip, stir until well mixed. Add to the butter mixture and beat until just blended. Stir in the cranberry mixture and the blueberries. Pour batter into the prepared loaf pan.
Bake for 70 minutes in your new KitchenAid commercial-style oven, or until a toothpick comes out clean. Remove from the oven and allow to cool a bit. When the bread is cool enough to remove, place it on a cooling rack.
If you’d like to chat with some friendly folks who know a thing or two about appliances, contact Fred’s Appliance today! We’d love to talk with you.
888-453-7337Text or ring! ring!
Live ChatClick to say hi

Apr. 09, 2024
How to Fix the nF Error Code on a Samsung Washer

Apr. 09, 2024
Kenmore Elite Dryer Issues: How To Troubleshoot

Mar. 06, 2024
Microwave vs. Oven: Pros and Cons and How They Differ

Mar. 06, 2024
Self-Cleaning Oven Smell: Causes & Odor Reduction Tips

Mar. 06, 2024
Frigidaire Ice Maker Not Working? 7 Ways to Fix It

Feb. 05, 2024
Why Is Your LG Refrigerator Not Cooling? (9 Common Reasons)

Feb. 05, 2024
GE Oven F2 Error: Causes & Solutions

Jan. 03, 2024
How to Reset the Water Filter Light on a Samsung Refrigerator

Jan. 03, 2024
Maytag Washer Showing F5 Error Code? Here’s What To Do

Jan. 03, 2024


