

Fred's Appliance
July 8, 2019
Dryer Repair
There are few things more alarming than when your dryer suddenly decides that warm fluffy clothing is optional. For someone who is accustomed to warm towels straight out of the dryer and soft wrinkle-free clothing, the loss of dryer functionality can be devastating. You might be worried that whatever is wrong with your dryer is deep in there relating to the belt fan or perhaps even the heating mechanisms.
But sometimes, a dryer stops heating or circulating air properly for a very simple reason: The vent duct is no longer venting. Vent ducts can be crushed, kinked, ripped, or even just clogged with dryer lint in a way that prevents them from providing the free airflow and release of moisture that every dryer needs.
If your dryer problems are not mechanical or internal, there’s a good chance the vent duct is at fault. So today, we’re diving into the basic process for solving dryer vent duct issues from beginning to end.
Step 1: Gather Your Supplies
Before you get started fixing your dryer vent duct, you’ll need a few key supplies to complete each step. Fortunately, the supply list is not long or complicated for this repair. All you need is:
- Screwdriver
- Washcloth
- Duct Tape
- Plumbing Snake
- Trash can
These are things you most likely already have around the house and the washcloth and trash can be replaced by anything else with a similar function.
Step 2: Empty & Wash Lint Trap
Once you’ve got your supplies together, you can start your work on the dryer. Begin by pulling the lint trap filter from the top of the unit or just inside the door. The lint trap leads directly to the vent duct and, if clogged up with lint, can damage the efficiency and quality of your dryer. For this repair, don’t just scoop up the spare lint.
Take some time to really wash the lint trap by running it under cool water and scrubbing it dry with a cloth. Now is also a good time to scoop out any lingering lumps of lint you can easily see and reach inside the lint trap housing.
Step 3: Pull Dryer Away from Wall
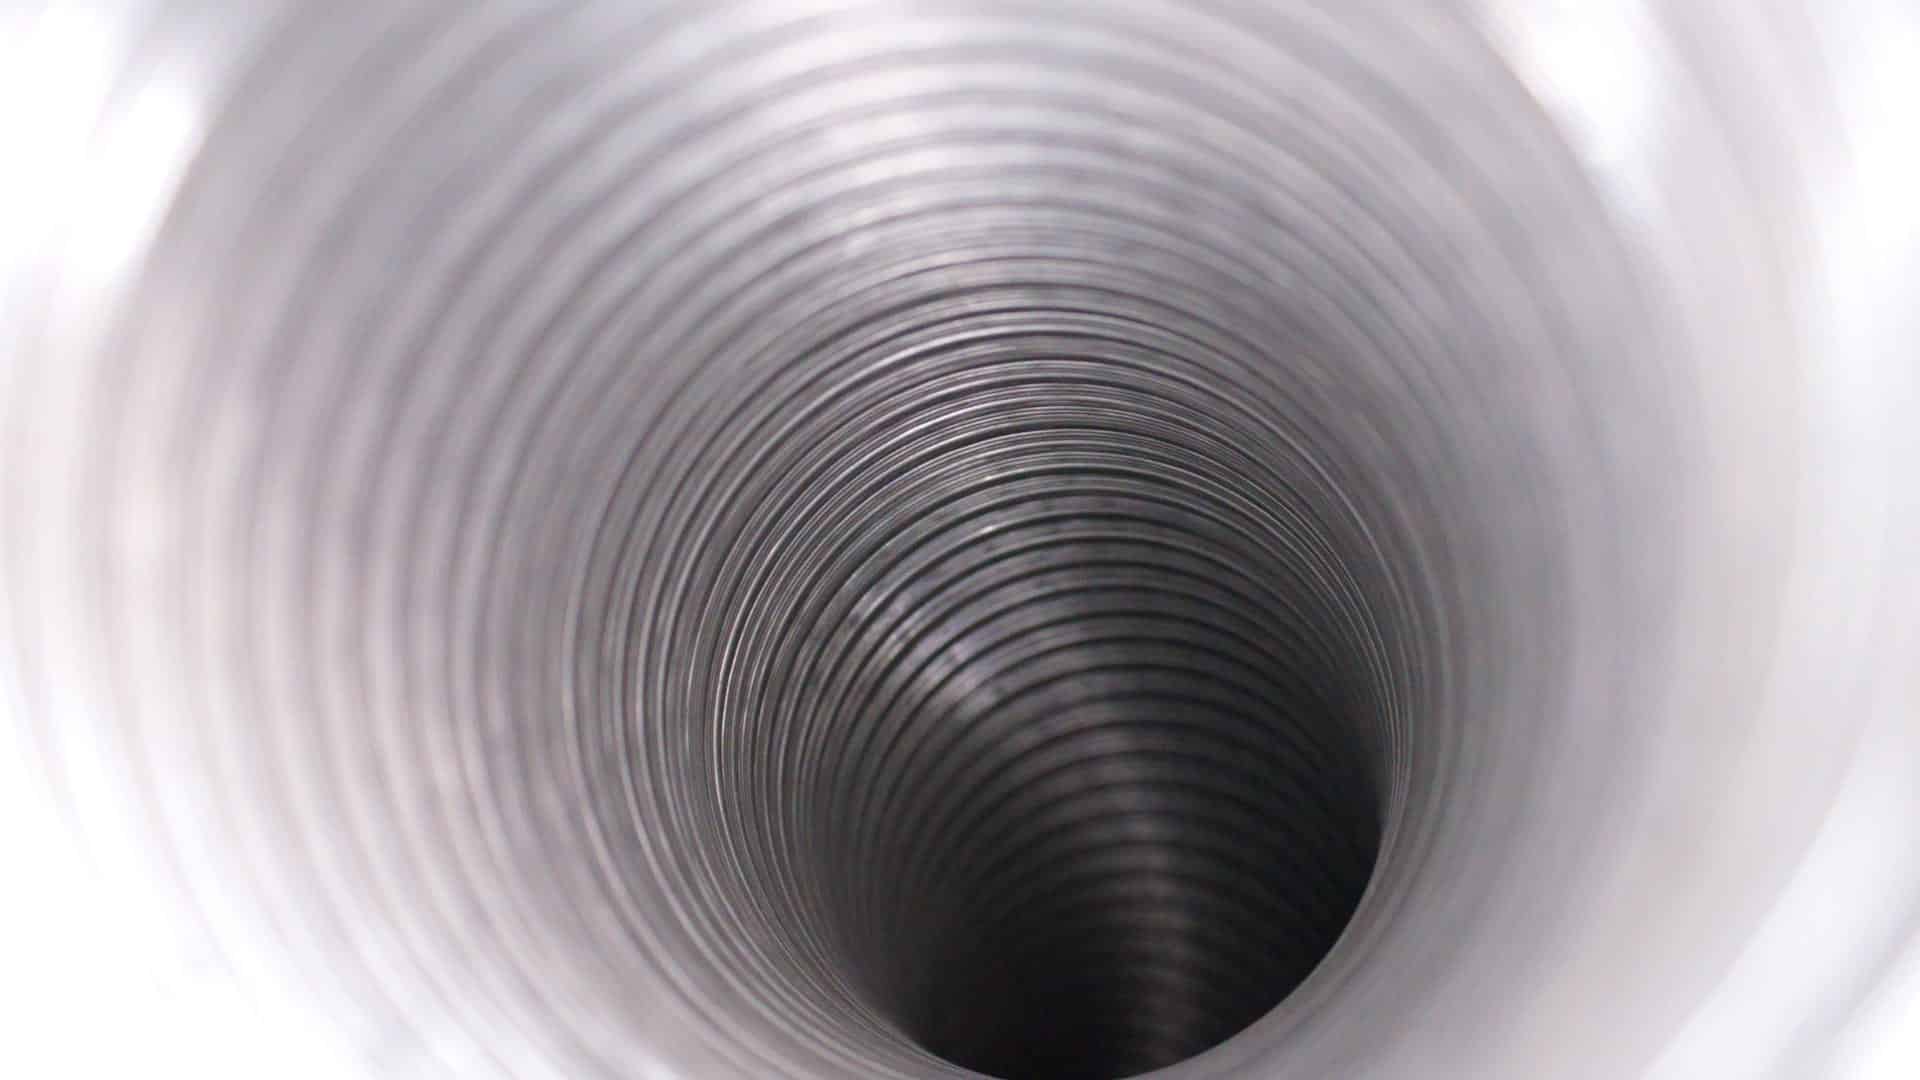
The next step for any serious vent troubleshooting is to pull your dryer away from the wall. In fact, this can be a repair step all on its own depending on the condition of your vent duct. Dryer vent ducts are often a simple crinkly foil tube which runs from the back of the dryer to the outside wall with the dryer outtake.
If your dryer is pushed in too far, it can crush the vent tubing, causing either a rip in the vent or unnecessary compression of linty air behind the dryer.
Pulling the dryer away from the wall has the benefit of both un-crushing a smooshed vent and creating more room to work on the dryer safely from this point on. And, of course, remember to unplug your dryer while you’re back there.
Step 4: Check Duct for Rips and Gaps
With the vent duct exposed, give that shiny flexible cylinder a good long inspection. Check for any visible tears or damage that might be causing the problem. Test for any little leaks of air that might be causing vent inefficiency. These pieces are one of the most disposable aspects of a dryer and are meant to be replaced from time to time.
However, if the damage is minor, you may not have to replace the whole vent duct. This is exactly the type of repair task that duct tape was made to fix. A few pieces of duct tape over a rip in your vent duct can return it to air-tight and even sturdier than it was before in resisting crumpling or future damage.
Step 5: Tighten Seals at Both Ends of the Duct
You will also want to make sure the seal at either end of your dryer vent duct is secure. If the duct is fully intact, you can still lose hot air and dryer efficiency simply by having a duct that is too loosely attached. Loose seals leak air and are bad for your dryer, your clothes, and your power bill. Naturally, the solution is to carefully re-secure the duct seals and then tighten them so that coming loose again is very unlikely. A tight duct seal is key to good dryer performance.
Step 6: (Optional) Replace a Damaged or Non-Sealing Duct
If repairing and tightening your dryer vent duct doesn’t do the trick and you can still feel air coming out somehow, then the old duct may simply be too damaged to save. When this is true, you will need to carefully research the type and size of duct needed for the make and model of your dryer. Once you know the correct part number, buy yourself a new dryer vent duct which will likely also come with the attachment pieces you need in case those were lost or damaged as well.
Remove the old dryer vent duct and then put the new one in its place with care. Be sure to seal the vent duct fasteners very tightly at both ends so that your duct will both stay in place and create a tight warm air seal to channel air out of the dryer and into the world at large.
Step 7: Clear the Duct Channel
There’s also a chance that the dryer duct itself has filled and clogged with old lint. This is particularly possible if you tend to leave your lint trap until it begins to overflow and compact lint into primitive felt. The more lint in your dryer system, the more likely it is to be the source of your problems. If your dryer vent duct is full of lint, take this time to shake and clear it out before reattaching the seals.
If the problem is deeper, you may want to use a plumbing snake to reach the ducts that run inside your house either through an outside wall or up into the attic.
Step 8: Try the Dryer Again
Finally, you’re ready to test your dryer and see if your repair and maintenance steps worked. Put everything back together how it ought to be, including the lint trap which should be clean and dry by now. Push the dryer back into place, but be careful not to crush the flexible section of your dryer vent duct. Then start your dryer and see if it has the power to warm and fluff damp clothes has finally returned.
—Repairing your dryer can consist of easy quicks steps or highly complex mechanical maintenance. Contact us today to find out more about home dryer repair or to arrange for a professional to take the entire dryer issue into our capable expert hands.
888-453-7337Text or ring! ring!
Live ChatClick to say hi

Apr. 09, 2024
How to Fix the nF Error Code on a Samsung Washer

Apr. 09, 2024
Kenmore Elite Dryer Issues: How To Troubleshoot

Mar. 06, 2024
Microwave vs. Oven: Pros and Cons and How They Differ

Mar. 06, 2024
Self-Cleaning Oven Smell: Causes & Odor Reduction Tips

Mar. 06, 2024
Frigidaire Ice Maker Not Working? 7 Ways to Fix It

Feb. 05, 2024
Why Is Your LG Refrigerator Not Cooling? (9 Common Reasons)

Feb. 05, 2024
GE Oven F2 Error: Causes & Solutions

Jan. 03, 2024
How to Reset the Water Filter Light on a Samsung Refrigerator

Jan. 03, 2024
Maytag Washer Showing F5 Error Code? Here’s What To Do

Jan. 03, 2024


