

Fred's Appliance
May 21, 2018
Oven Repair
In preparation to cook a meal, people from all over the world turn on their electric stovetop burners and give no thought as to how any of it works. They want to cook an omelet, boil some water, or maybe grill a big fat juicy rib-eye and the only thing they want is the end product sitting on their plate. What they may not realize is how this process works and they may not care how it works until a time comes when it doesn’t.
So, let’s fan the flames of some basic electricity knowhow that may help you understand how your range works and what could be wrong with it when it doesn’t work, usually when you need it the most.
Understanding How an Electric Range Works
The more someone knows how something works the easier it is to diagnose why something is not working. You don’t need an associate degree in electronics to understand how an electric range works. Of course, we are going to be discussing how to repair an electric cooktop, but it is good to have a basic understanding how the range works.
- Electricity from a power source is delivered to a terminal block inside your range through three large wires in the power cord.
- Electrical power is then distributed to the various components that operate the various features of the range. Such as the thermostat, heating elements, and the heating coils that comprise most of the cooktop.
- Heating elements are insulated coils with a metal covering that creates heat and electrical resistance to achieve the desired temperature.
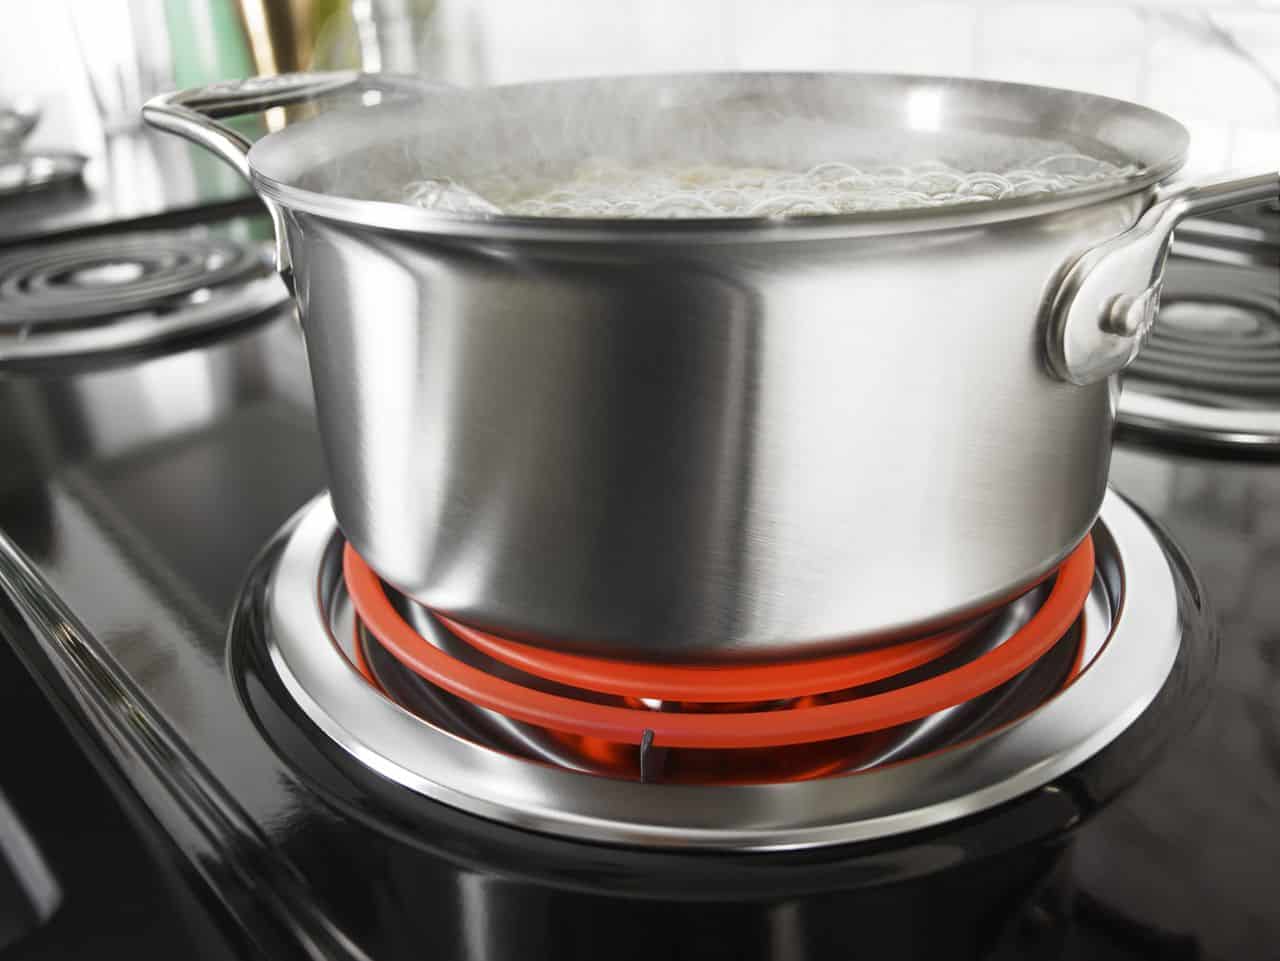
- Range cooktops come equipped with either a conventional burner or a radiant burner. The radiant burner sits underneath a ceramic surface that was designed for better heat distribution.
- Each element is supported by its own switch that turns the burner on and sends a message to the thermostat to heat to the desired temperature.
- The oven is designed to effectively maximize heat and air control.
- Desired levels of heat are controlled by switches and thermostats.
- Switches control the on and off while the thermostat controls the level of the desired temperature.
- One type of switch for electric range tops is called an infinite-heat switch which pulsates power to heating elements on an as-needed basis, maintaining the correct level of heat.
#1. Burner Won’t Heat Because of an Electrical Short
-
Plug-in burners can collect grease and moisture into the power source receptacle.
- This can lead to an arcing situation creating an intermittent electrical short that may not be noticed any more than a minor headache.
- Eventually, the element will burn out.
Solution
- To prevent a burner from shorting because of grease, oil, or moisture, it is recommended to clean the element tips and inside of the receptacle.
- When the repair calls for a heating element replacement, make sure to replace the power source receptacle also. Do not assume that just because the heating element shorted that the receptacle does not have any problems.
- Do not immerse the burner in water to clean. The plug-in tips on the burner element contain porcelain and will absorb water. The burner may appear dry but even a small amount of water could cause serious electrical shock.
- In order to prevent cross-contamination, make sure to return the same heating element to the receptacle it came from.
- Use a drip pan to capture grease and oil, however, do not line drip pans with foil. The light from the from the element reflects off the foil back to the element, causing hot spots to develop which would render the heating element useless.
#2. Burned Out Element
Needless to say, each burner element is controlled by its own switch. When the switch selector knob is turned to a particular heat setting the switch allows voltage to travel to the element which closes the circuit and causes the element to heat. If the element does not heat the component has burned out. Let’s take a closer look at how to manage this repair.
- Inspect a conventional element for any blistering or breaks in the coil. If there is any visible breaks or bubbling, the circuit has been interrupted and the element needs to be replaced.
- When inspecting the coils that sit underneath a ceramic top, look for any breaks or burn spots in the coil. If there is any incongruence in appearance, the coil needs to be replaced.
- Lastly, if there is no visible damage you can check for continuity with a multi-meter. If there is no continuity you have found your problem.
Solution
- Replace the burned-out heating element.
#3. Burned Out Receptacle
If the heating element test proves that the element is in good shape, consider the power receptacle.
- A burned out receptacle interrupts the voltage sent to the heating element.
- Inspect the contacts for visible burn marks or damage.
Solution
- If there is visible damage, replace the power receptacle with a new one.
#4. Loose or Burnt Wire Connection
As you work your way through these troubleshooting tips, be sure to look for any loose or burnt wires.
- It is common for element power supply wires to burn out near the element. If this is the case, you will see visible burn marks. If a wire is loose, try wiggling it back on to its connection.
Solution
- Replace the wire or wires that are damaged or burnt; replace the power receptacle and replace the heating element.
#5. Defective Surface Element Switch
The heating element switch regulates the voltage that controls how much heat is displaced to the coils. When the element reaches the desired temperature the switch shuts off the voltage. In order to maintain the designated temperature, the cycle continues throughout the cooking process.
- A defective switch may prevent the element from working at all.
- A good troubleshooting procedure is to simply take a similarly sized element and plug it in (see below for directions on how to replace a plug-in burner).
- If the new element fails to work, then suspect the switch.
Solution
- Replace the element switch.
How to Replace a Plug-in Burner
- Plug-in burners are commonly used in General Electric, RCA, Hotpoint, and Kenmore ranges.
- When doing this repair, be careful to avoid any sharp edges.
- Remember Safety First! Before beginning any work on the range, unplug it from its power source.
- Once the range is unplugged, go ahead and grasp the damaged burner by the outer coil and lift it up and pull it straight out.
- Replace the burner by sliding its prongs into the terminal receptacle.
- Then pull the burner forward to lock it in place.
- Reconnect the range to the wall outlet and turn the new burner switch to on.
If this short troubleshooting guide does not solve your cooktop problem, contact us today for more assistance.
888-453-7337Text or ring! ring!
Live ChatClick to say hi

Apr. 09, 2024
How to Fix the nF Error Code on a Samsung Washer

Apr. 09, 2024
Kenmore Elite Dryer Issues: How To Troubleshoot

Mar. 06, 2024
Microwave vs. Oven: Pros and Cons and How They Differ

Mar. 06, 2024
Self-Cleaning Oven Smell: Causes & Odor Reduction Tips

Mar. 06, 2024
Frigidaire Ice Maker Not Working? 7 Ways to Fix It

Feb. 05, 2024
Why Is Your LG Refrigerator Not Cooling? (9 Common Reasons)

Feb. 05, 2024
GE Oven F2 Error: Causes & Solutions

Jan. 03, 2024
How to Reset the Water Filter Light on a Samsung Refrigerator

Jan. 03, 2024
Maytag Washer Showing F5 Error Code? Here’s What To Do

Jan. 03, 2024


