

Fred's Appliance
December 20, 2017
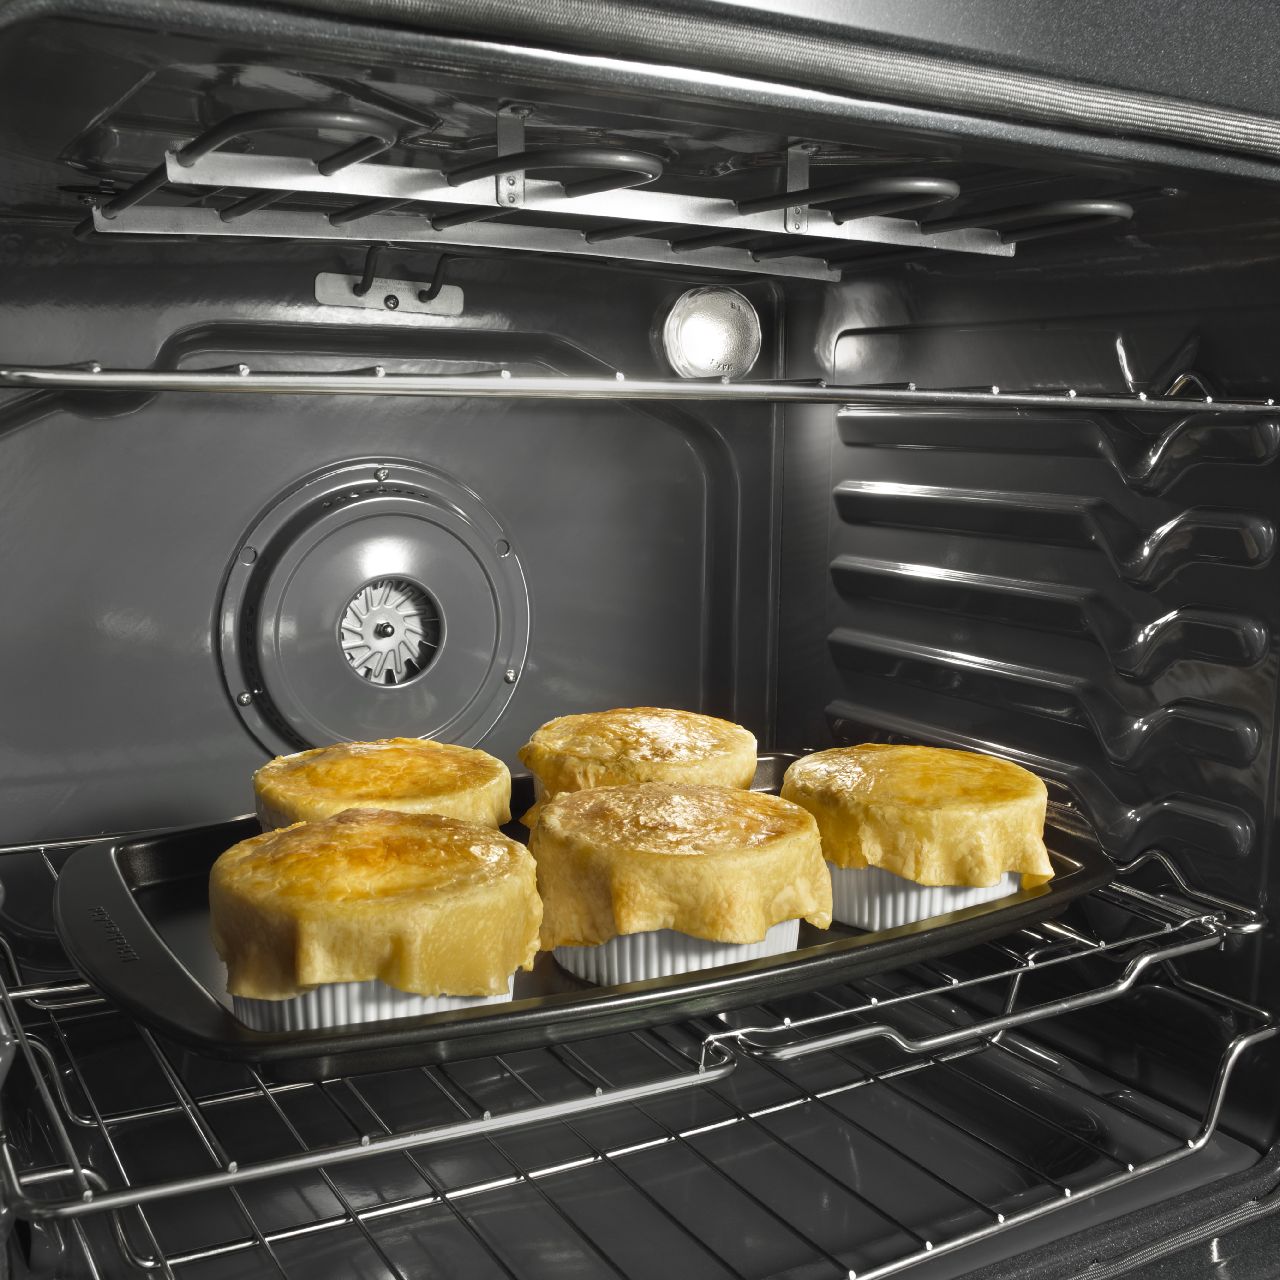
Oven Repair
The light in your oven needs a seal to help protect the inside of interior walls from heat damage, and it protects the lightbulb from the moisture and heat generated in the oven. This small gasket can wear through or get dirty over time, so make checking it part of your checklist for servicing ranges and making small repairs. If it’s breaking down and no longer sealing. replace it with part #WP3184533 and follow these steps:
- Unplug the range or flip the circuit breaker. Even if you’re just making minor repairs, removing the power helps ensure that you won’t get electrocuted and also helps prevent any sparks that could damage the range.
- Remove the oven racks so you can access the back of the oven.
- Open the light lens compartment. This is located in the back top corner of your oven. Unscrew the cover over the light bulb and set it aside. Then pull the cover out.
- Replace the gasket. Remove any fibers of the old seal remaining on the cover until the edge is completely clean. Then work the new light lens gasket over the lens until it fits into place around the bottom lip of the seal.
- Retighten the light lens in the corner of the oven.
- Put the oven racks back into position and plug the oven back in.
Preventative maintenance like fixing gaskets and sensors before a major malfunction is a key to prolonging the life of your Range. Go to Fred’s Appliance Service for more repair procedures and major appliance tips.
888-453-7337Text or ring! ring!
Live ChatClick to say hi

Apr. 09, 2024
How to Fix the nF Error Code on a Samsung Washer

Apr. 09, 2024
Kenmore Elite Dryer Issues: How To Troubleshoot

Mar. 06, 2024
Microwave vs. Oven: Pros and Cons and How They Differ

Mar. 06, 2024
Self-Cleaning Oven Smell: Causes & Odor Reduction Tips

Mar. 06, 2024
Frigidaire Ice Maker Not Working? 7 Ways to Fix It

Feb. 05, 2024
Why Is Your LG Refrigerator Not Cooling? (9 Common Reasons)

Feb. 05, 2024
GE Oven F2 Error: Causes & Solutions

Jan. 03, 2024
How to Reset the Water Filter Light on a Samsung Refrigerator

Jan. 03, 2024
Maytag Washer Showing F5 Error Code? Here’s What To Do

Jan. 03, 2024


