

Fred's Appliance
September 6, 2022
Washer Repair
If your washing machine isn’t spinning or agitating properly, it may be time to replace the belt. In this five-step guide, we’ll show you how to do it yourself. Replacing a washing machine belt is a relatively easy task that can be completed in under an hour. So if your washing machine is on the fritz, don’t wait—get started on repairing it today!
Washing machine belt replacement
At some point, every washing machine will need a new belt. Though it may seem like a small and insignificant part, the belt plays a critical role in the function of the washing machine. The belt is what helps to rotate the drum, and without it, the machine would not be able to properly clean clothes. Not all washers have belts though, so this is a general guide that covers belt replacement on most washers.
In most cases, it is simple to replace a washing machine belt. However, it is important to consult your owner’s manual to make sure that you are purchasing the correct belt for your model of washing machine.
Replacing a worn or damaged belt is relatively simple and can be done fairly inexpensively. However, if the belt is not replaced in a timely manner, it can cause further damage to the machine, which can be much more costly to repair.
Follow these steps to get your washing machine back up and running in no time!
Step 1: Unplug your washing machine and shut off the water supply
Before starting any repair on your washer, it is important to unplug and disconnect the hoses. This is for your safety. Washer motors can start without warning, and if your hands are near the moving parts, you could get injured. Additionally, water left in the hoses can cause rusting and other damage to the machine.
Once the washer is disconnected, you’ll be able to move it around more easily as you work on repairs. Plus, you won’t have to worry about getting electrocuted or drenched in soapy water. So, be sure to take a few minutes to disconnect the power and hoses before starting any washing machine repair.
Step 2: Remove the access panel on the back (or bottom) of the machine
To access the pulley system at the back of your washer, you will need to remove the access panel. Pull the washer away from the wall. If your machine is a top-loader, you may need to place the machine on its side to access the pulley system. If it’s a front loader, the panel can be accessed from the back.
Locate the screws that hold the panel in place and remove them with a screwdriver.
The panel may be held in place by additional clips or latches; if so, release these before gently pulling off the panel. With the panel removed, you should be able to see the pulley system.
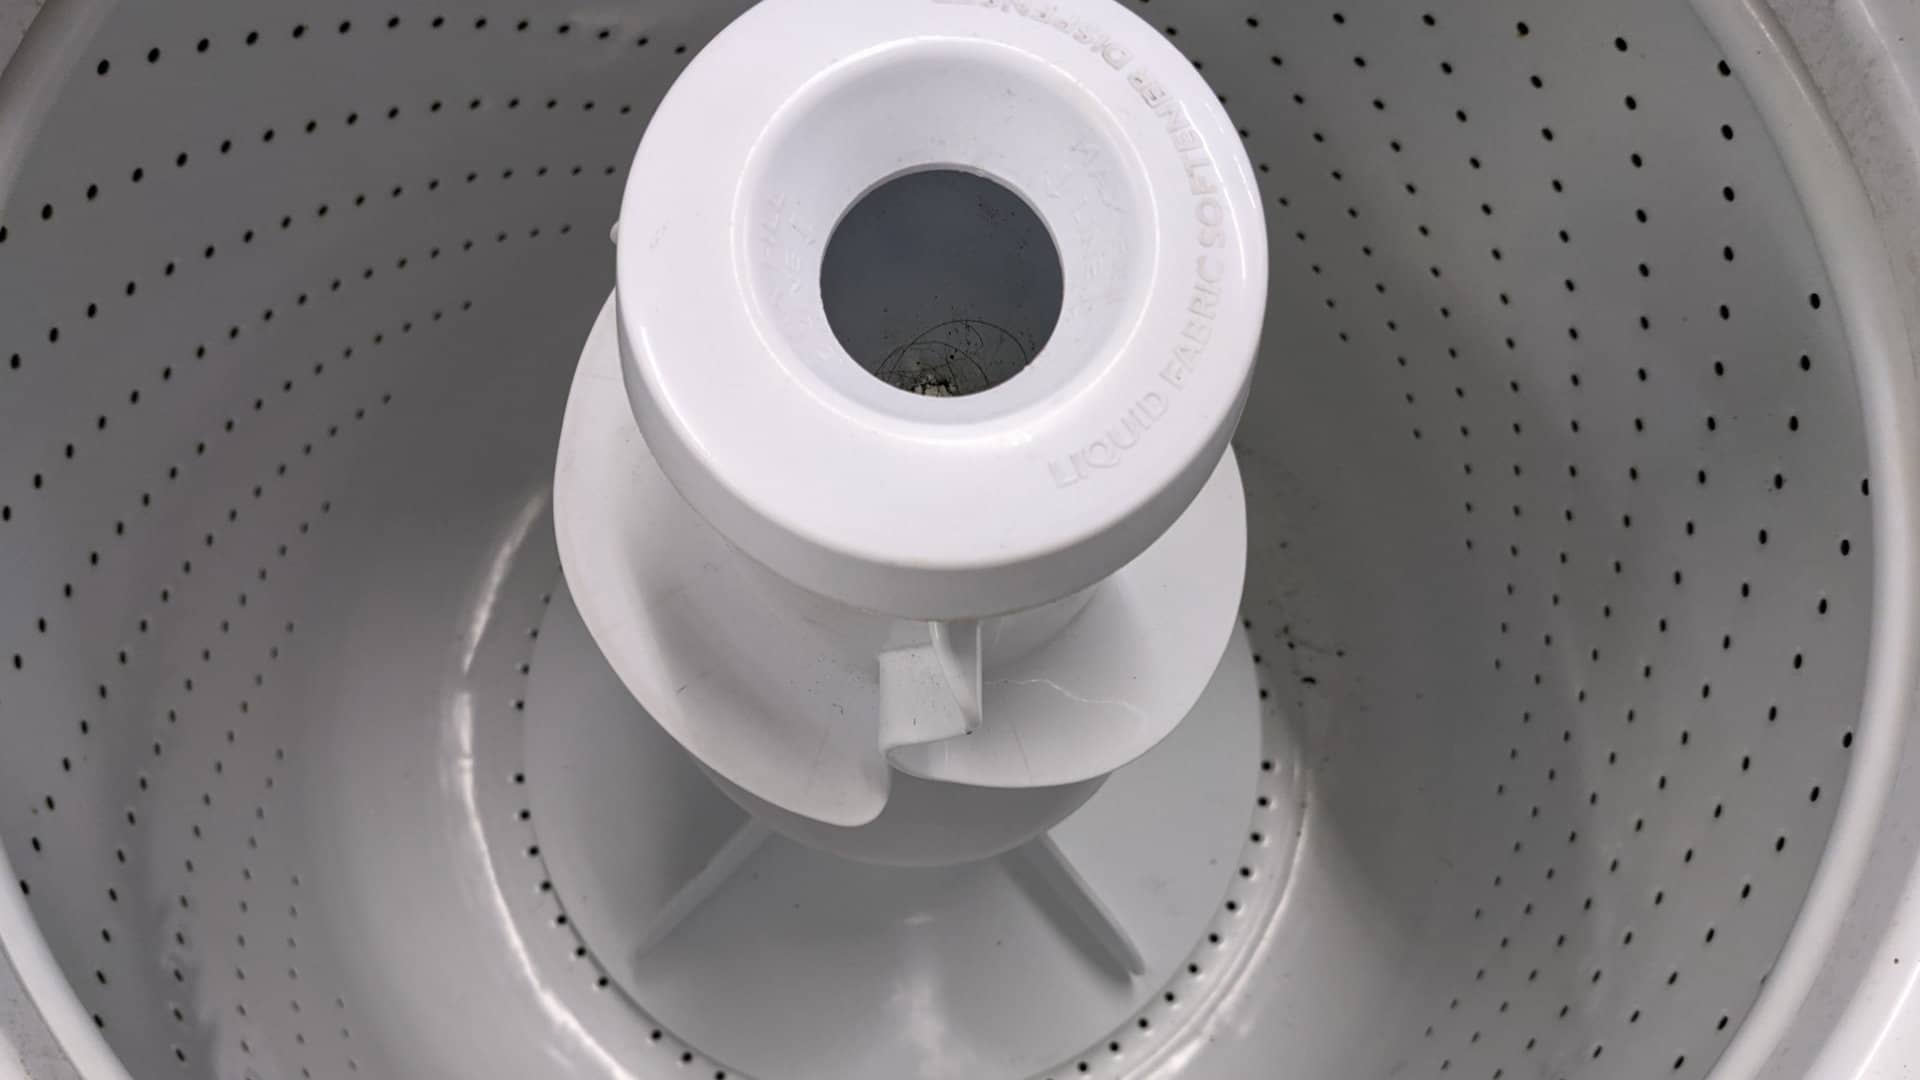
Step 3: Locate the belt and remove it from the pulleys
The belt in a washing machine is a wide black rubber strip looped around a pair of gears that turn the washing machine drum. If you’re not certain, you can look up diagrams of your washer’s make and model online.
To remove a belt from a pulley system, first, loosen the tension on the belt by slackening the adjustment screws or bolts or clamps, if there are any. Then, disconnect the belt from the drum pulley by slipping it off of the pulley while turning the pulley, carefully.
Finally, remove the belt from the motor pulley by pulling it over the top of the pulley. Once the belt is removed, you can inspect it for signs of wear or damage.
Step 4: Install the new belt by threading it through the pulleys
To install a new belt, you’ll need to start with the smaller motor pulley. Once you’ve got the belt in place, you can stretch it around the larger drum pulley. Make sure that the belt is tight enough so that it doesn’t slip, but don’t overdo it or you could damage the motor.
Not sure whether you’ve got the tension right? Try turning the drum by hand. If it’s too loose, the belt will slip; if it’s too tight, the motor will strain and could eventually overheat. Once you’re happy with the tension, you can put everything back together and enjoy your new belt!
Step 5: Replace the access panel and plug in your machine
Replacing the back access panel of your washer after a repair is important for a few reasons. First, it provides access to the inner workings of the machine, so that you can check for any issues or problems. Second, it helps to protect the electrical components from dust and debris. Third, it helps to prevent water damage in the event of a leak.
After a repair, don’t forget to reconnect the water hoses correctly. If you don’t, you could end up with a leak that could damage your floor or cause other problems. If the hoses are not properly reconnected, your washer will not work correctly and may even be damaged. When reconnecting the hoses, be sure to use the correct fittings and tighten them securely.
Finally, plug the washing machine back in.
Test the machine to make sure that it is working properly before doing a full load of laundry. To do this, simply fill the washer with a small amount of laundry and run it through a cycle. If everything seems to be working properly, then you’re good to go!
The bottom line
Replacing a washing machine’s belt is a relatively simple process that can be completed in just a few minutes. By following these steps, you can ensure that your machine is running smoothly and efficiently. However, if you run into problems, don’t hesitate to contact a professional for assistance.
888-453-7337Text or ring! ring!
Live ChatClick to say hi

Apr. 09, 2024
How to Fix the nF Error Code on a Samsung Washer

Apr. 09, 2024
Kenmore Elite Dryer Issues: How To Troubleshoot

Mar. 06, 2024
Microwave vs. Oven: Pros and Cons and How They Differ

Mar. 06, 2024
Self-Cleaning Oven Smell: Causes & Odor Reduction Tips

Mar. 06, 2024
Frigidaire Ice Maker Not Working? 7 Ways to Fix It

Feb. 05, 2024
Why Is Your LG Refrigerator Not Cooling? (9 Common Reasons)

Feb. 05, 2024
GE Oven F2 Error: Causes & Solutions

Jan. 03, 2024
How to Reset the Water Filter Light on a Samsung Refrigerator

Jan. 03, 2024
Maytag Washer Showing F5 Error Code? Here’s What To Do

Jan. 03, 2024


