

Fred's Appliance
August 29, 2017
Dryer Repair
Is your dryer not turning on? Or does it start up for just a second before falling still? If this is the problem with your machine, then the most likely culprit is the high-limit thermostat along with the bottom of the machine. Whether it’s due to old age and wear, or the part can’t maintain an electrical connection, replacing this piece can keep your dryer working for much longer instead of you needing to replace the whole machine. Here’s how to quickly repair your dryer on your own:
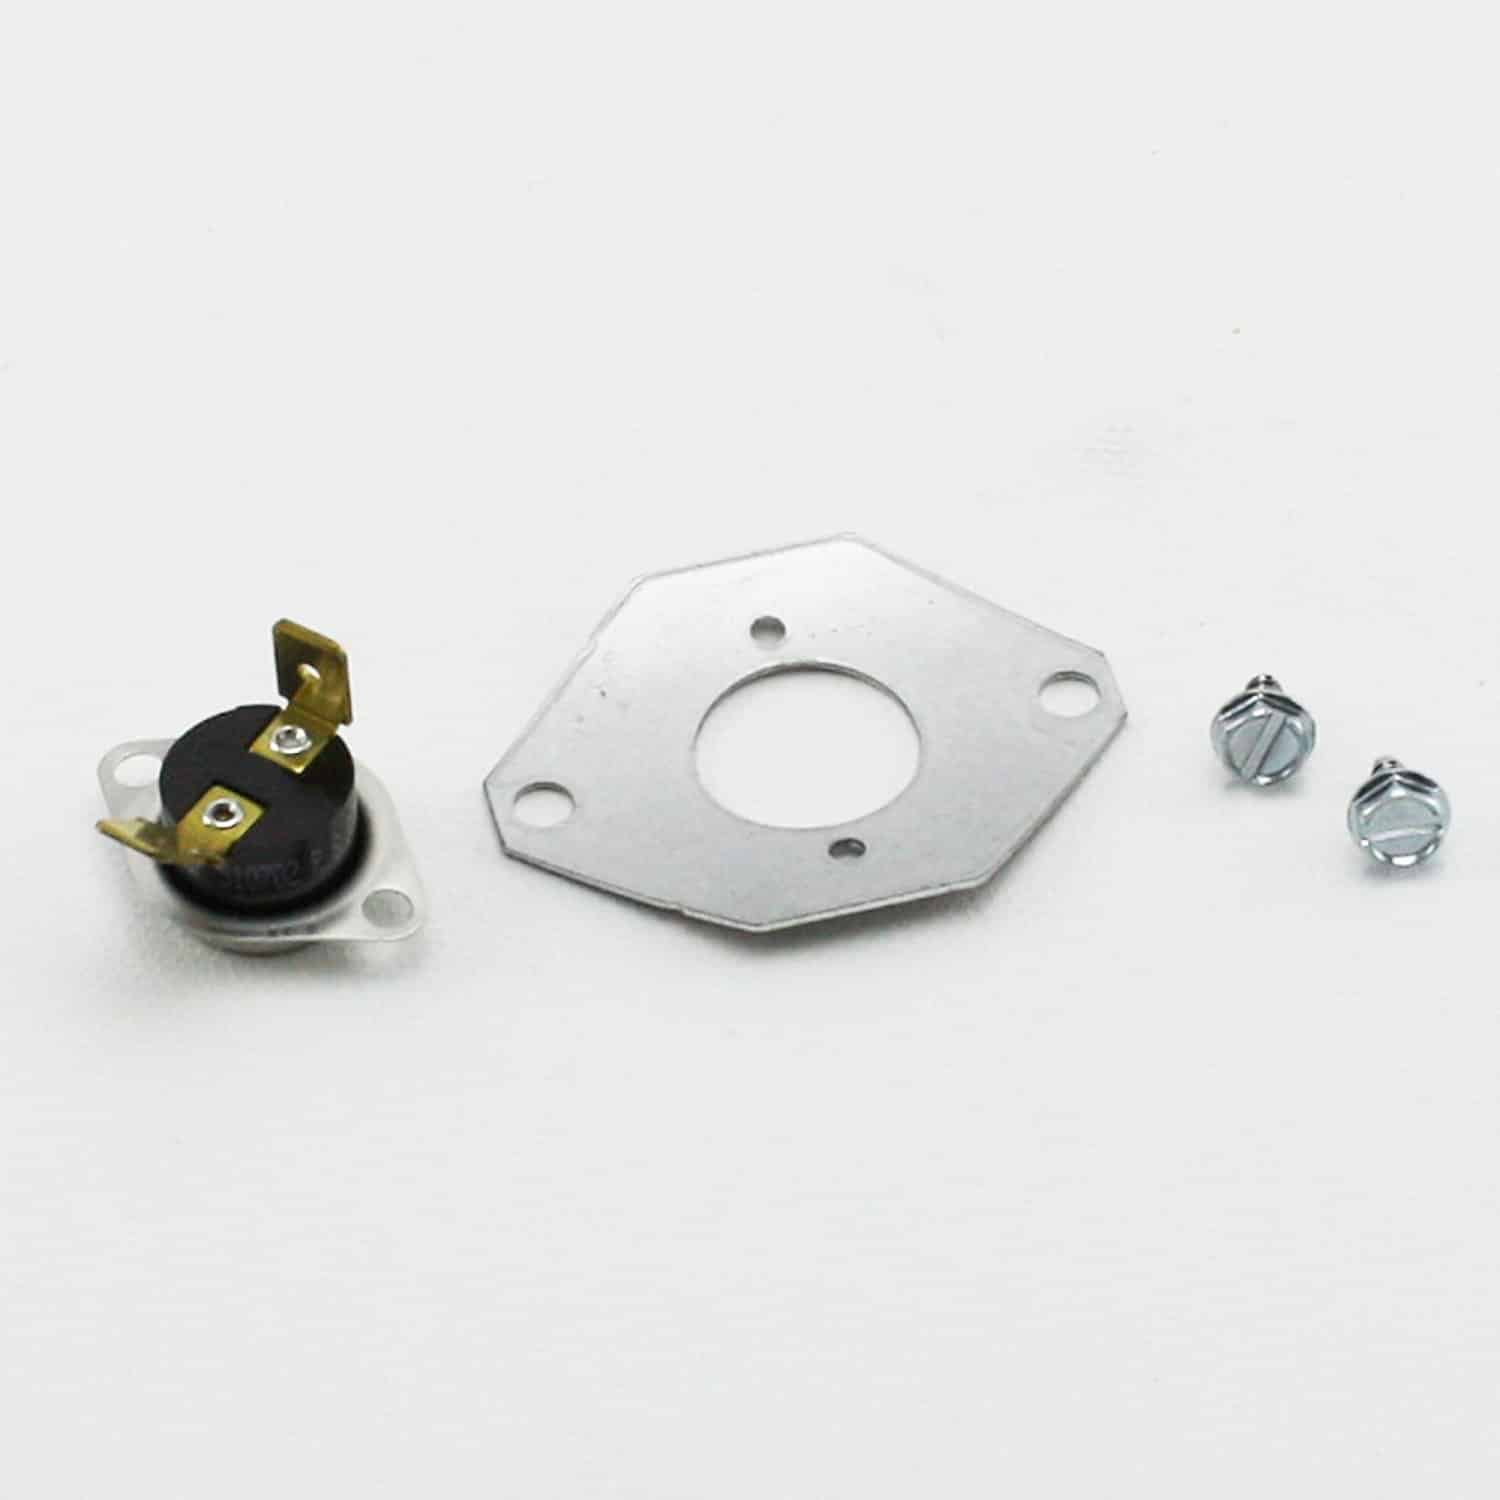
Before you get started, you need to order the part. While physical stores and repair shops may have the part in stock because your appliance is a Maytag, buying the part online is both cheaper and easier. Look for a high-limit thermostat with the part #489P3. Once you have your part, complete each step below.
- When you’re making repairs or investigating any electrical appliance, be sure to turn off the power. Some appliances, like dryers and ovens, you can simply unplug while others require you to flip the circuit breaker. Even if you aren’t changing any electrical parts, turning off the power is the most important step in staying safe.
- Unscrew the lower access panel in the front. You can use a driver to remove the screws along the edge of the panel. If you want to be able to change the part easily and with better visibility than the lower access panel allows, you can also remove the drum via the front panel. This panel and the drum has more moving parts and wires than the lower access panel, so detach each part carefully and take note of the orientation of the wires. If this is one of the first times you have taken apart a Maytag dryer, take pictures of each connection with your phone so you can correctly insert the wires and bands during reassembly.
- Disconnect the wires from the thermostat and remove the screws to release the old thermostat from the burner tube.
- Align the new part and screw it in. Then reconnect the wires, using your pictures to make sure the wires are oriented correctly.
- Reinstall the drum while taking particular care to align it on the rollers and resecure the belt. Then, reattach all of the wires while taking care to match the orientations exactly according to the pictures.
- Reattach the top of the machine and replace the front panels, including the door switch wires, and the lower access panel.
Whenever you’re installing a replacement part in a major appliance, the bulk of the work is in reaching the old part in the right way. So be sure to take pictures each step of the way and, if you get stuck or want to double-check your work before powering on your dryer, check Fred’s Appliance Service for more tips.
888-453-7337Text or ring! ring!
Live ChatClick to say hi

Apr. 09, 2024
How to Fix the nF Error Code on a Samsung Washer

Apr. 09, 2024
Kenmore Elite Dryer Issues: How To Troubleshoot

Mar. 06, 2024
Microwave vs. Oven: Pros and Cons and How They Differ

Mar. 06, 2024
Self-Cleaning Oven Smell: Causes & Odor Reduction Tips

Mar. 06, 2024
Frigidaire Ice Maker Not Working? 7 Ways to Fix It

Feb. 05, 2024
Why Is Your LG Refrigerator Not Cooling? (9 Common Reasons)

Feb. 05, 2024
GE Oven F2 Error: Causes & Solutions

Jan. 03, 2024
How to Reset the Water Filter Light on a Samsung Refrigerator

Jan. 03, 2024
Maytag Washer Showing F5 Error Code? Here’s What To Do

Jan. 03, 2024


