

Fred's Appliance
September 13, 2017
Dryer Repair
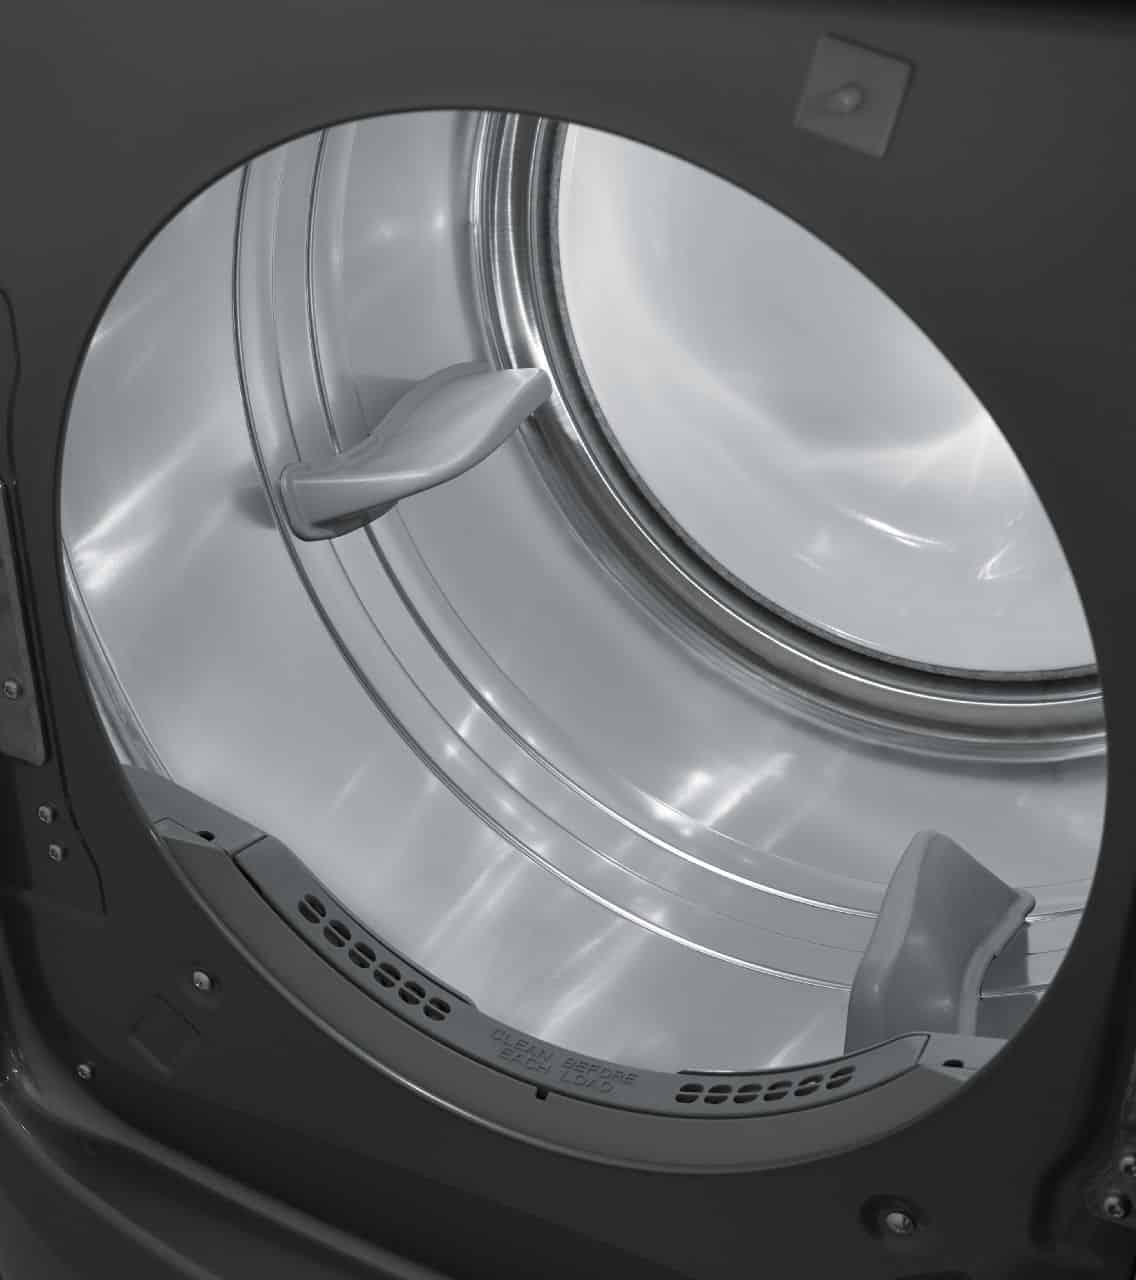
Dryers are compact machines with most of the parts organized along the bottom of the machine. While the lower access panel(if it has one) lets you reach most of the pieces, visibility can be a little tricky. The easiest way to get full access to the machinery in your common Maytag dryer to is to remove the upper front panel of your Maytag machine and take out the drum. Whether you need to replace the high-limit thermostat (part #489P3) or the band around the drum is cracking, here’s how to safely and easily get into the inner workings of your dryer.
- Unplug the dryer. You will be detaching wires during this procedure and the machine should have no access to electricity. Anytime you are repairing or dismantling an appliance, be sure to unplug it or turn off its circuit breaker, even if you don’t think you will be touching any electrical components.
- Remove the lower and upper front access panel. The upper panel will have door switch wires, so take note of the wires’ orientation before removal. If it is a solid front panel, the top will need to be removed first using a putty knife.
- Remove the top mounting screw so you can swing the main top panel out of the way.
- Disconnect the light assembly wires and remove the front bulkhead mounting screws so you can detach the bulkhead. This is the flat part in front of the drum.
- Unhook the belt from the pulley and the motor shaft. These parts are under the drum, and once the belt is fully detached you can lift the drum free. Grab the front edge of the drum and the top of the belt to safely carry the drum to the side; it is large and heavy, so make sure you have space nearby to store it as you’re making repairs.
Removing the drum is not an essential step to most dryer repairs, but getting it out of the way can make your job much easier by giving you a better view of the parts below. In order to reassemble your dryer, just reattach the belt to the pulley and motor shaft, and then work through the steps backward. Make sure your wires are inserted correctly according to the pictures you took along the way or according to the manual. If your dryer isn’t working right, go to Fred’s Appliance Service for tips on how to diagnose the problem and step-by-step repair guides.
888-453-7337Text or ring! ring!
Live ChatClick to say hi

Apr. 09, 2024
How to Fix the nF Error Code on a Samsung Washer

Apr. 09, 2024
Kenmore Elite Dryer Issues: How To Troubleshoot

Mar. 06, 2024
Microwave vs. Oven: Pros and Cons and How They Differ

Mar. 06, 2024
Self-Cleaning Oven Smell: Causes & Odor Reduction Tips

Mar. 06, 2024
Frigidaire Ice Maker Not Working? 7 Ways to Fix It

Feb. 05, 2024
Why Is Your LG Refrigerator Not Cooling? (9 Common Reasons)

Feb. 05, 2024
GE Oven F2 Error: Causes & Solutions

Jan. 03, 2024
How to Reset the Water Filter Light on a Samsung Refrigerator

Jan. 03, 2024
Maytag Washer Showing F5 Error Code? Here’s What To Do

Jan. 03, 2024


