

Fred's Appliance
January 21, 2019
Oven Repair
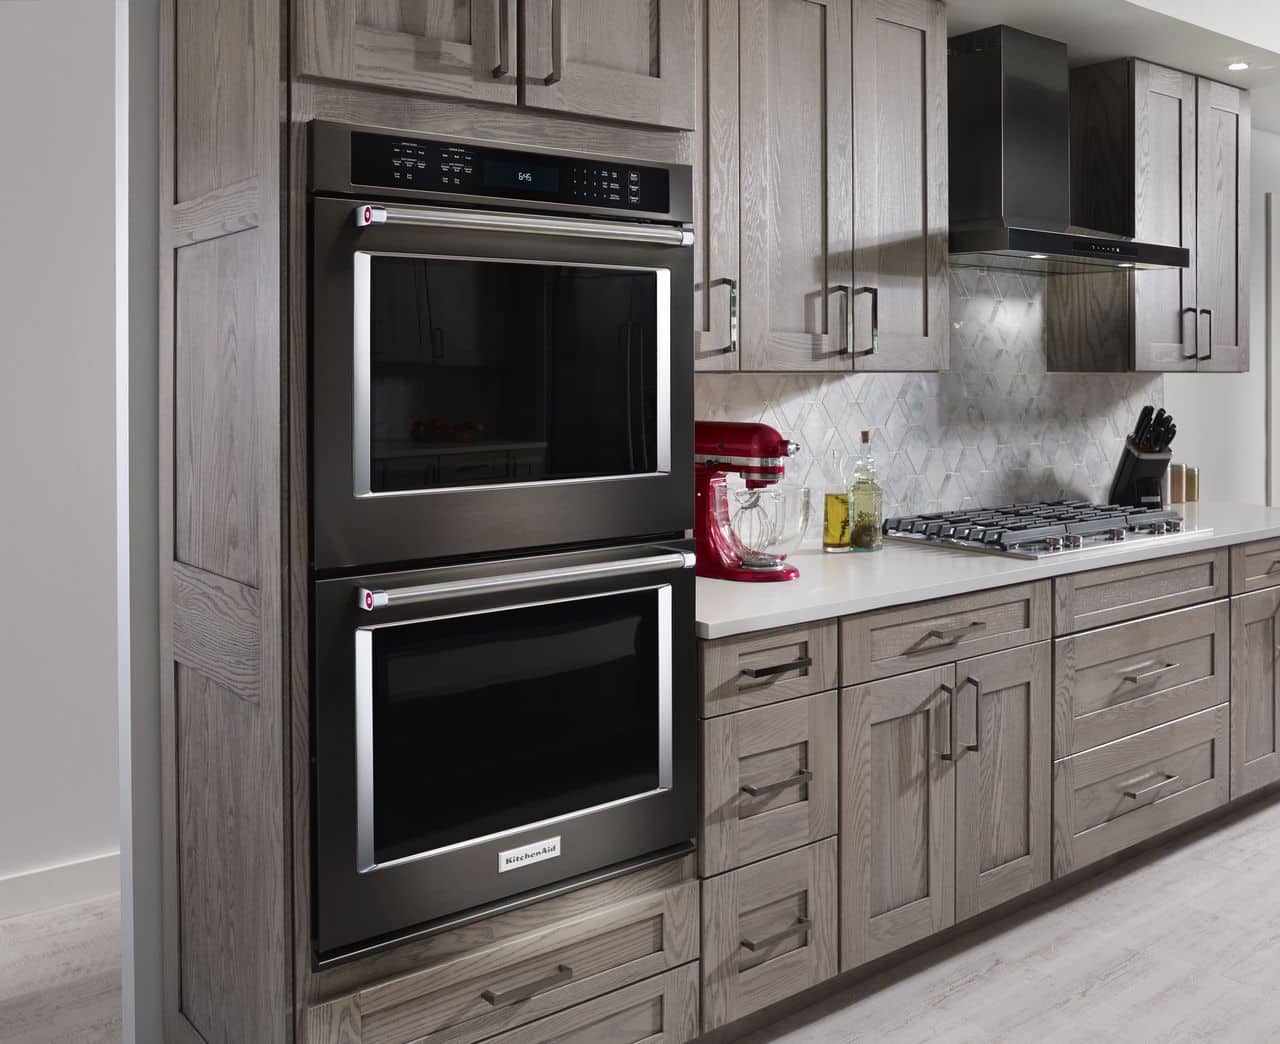
The KitchenAid double wall oven, model # KODE500ESS, is the oven discussed in the following article. It is a 30-inch, convection oven designed to evenly bake your favorite bread, desserts, roasts, casseroles or whatever else your heart fancies. If you own one of these ovens or are considering purchasing one, it would be helpful to know a few things about the relative ease it takes to maintain and repair. Why would anyone want to know how to take apart any oven let alone a double wall oven? There may come a time when a sensor, thermostat, or heating element fails to function, and it would be beneficial to know how to disassemble the oven in order to access any part that needs to be removed and replaced.
How to Perform this Procedure Safely
Throughout this article, you will find caution alerts signaling you to be careful as you proceed. A part may be heavy, fragile, or comprise unseen sharp objects.Before you begin any appliance repair project, please remember to unplug the appliance from its power source or shut off the breakers that control the oven.
How to Remove Either Oven Door
Many people are surprised at how heavy the oven door is so be careful as you attempt to remove it from its hinges.
- Completely open the oven door.
- Rotate both door hinge locks toward the oven. This will release the door hinges from the oven, so you can remove it.
- Close the door to a 45-degree angle, grab each side of the door and pull it toward you to remove.
- Set the oven door handle side down on a protective blanket or some other soft surface.
How to Access the Broil Element and Oven Sensors
- Be careful to avoid sharp edges when removing and replacing heating elements and oven sensors.
- Remove all oven racks to gain clear access to the rear of the oven.
- Use a ¼ inch nut driver to remove the screws from the bracket that holds the heating element to the rear of the oven.
- Remove the two screws that hold the upper heat shield in place.
- Carefully pull the heating element away from the back of the oven and disconnect each wire from its connector.
- Remember to connect heating element wires are completely connected to their accompanying terminals.
- Realign the broil element and its shield by inserting the oven sensor through the large hole located in the element bracket.
- Realign the smaller front shield and fasten in place with the two screws you removed.
- Replace the rear bracket screws.
- With the ¼ inch nut driver remove the screws that hold the oven sensor bracket in place.
- Gently pull the sensor toward you until you see its wire connector. Avoid allowing the wire to slip through the rear panel or you’ll be pulling the double oven out of its cabinet just to correct this mishap.
- Disconnect the wire connector.
- When installing a new sensor, remember to connect the wires to their connector first.
- Feed the wire through the rear panel and secure the sensor bracket with its screws.
- After reconnecting the element and sensor, replace the oven racks.
How to Disassemble the Oven Door
One of the main reasons you would disassemble the oven door is to replace damaged door hinges.
- Use a Philips screwdriver to remove four screws that secure the inner door frame to the outer door assembly.
- Remove the frame and be careful of sharp edges.
- If you are replacing a door hinge lift the window pack from the outer door assembly. Remove two screws that secure the hinge as well as the middle screws that hold the window pack bracket.
- With the screws removed, slide the old hinge assembly out.
- Install the new door hinge by sliding the assembly into the outer door frame.
- Replace the screws and tighten.
- Reassemble the door by placing the window pack in the outer door assembly. Be mindful to ensure the engraved notations are visible.
- Realign the inner door frame on the outer door assembly.
- Replace and tighten the four screws on the door assembly with the shorter screws going into the bottom of the frame.
- Reinstall the door by sliding the door hinges into their designated hinge slots at a 45-degree angle.
- Lower the door to its fully open position and rotate the hinge locks forward.
How to Remove and Replace a Damaged Control Panel
For some reason one or more components are not functioning properly. After performing some basic tests, you’ve decided that the control panel is damaged and must be replaced. Follow along to learn how to access and replace a broken control panel.
- Remove the four screws, two on each side, that hold the oven frame to the cabinet.
- You will need an extra pair of hands to help you slide the oven about 4 inches out from its cabinet.
- With a ¼ inch nut driver remove the two screws, one on each side, to remove the control panel mounting brackets.
- Remove the four screws that secure the panel assembly.
- Lift the control panel up to remove, careful of sharp edges.
- Disconnect the communication wire and ground wire from the control panel.
- Install the new control panel by connecting the communication wire and ground wire to the user interface board.
- Align the control panel to the frame and replace the four screws that secure the panel to the mounting bracket.
- Realign the mounting bracket and secure with its two screws.
- Slide the oven back into its cabinet.
- Ensure the side trim pieces are in place and secure the oven frame to the cabinet.
How to Access the Upper and Lower Thermostat and the Cooling Fan
One of the signs that your oven has a blown or damaged thermostat is the oven is not heating correctly. Unfortunately, the entire double oven must be removed to access the thermostat.
- Remove both oven doors in the manner discussed above.
- Remove the bottom vent and remove the oven racks.
- Remove the wall frame.
Now you are ready to remove the entire oven but find someone to help you because you will have a difficult time removing it by yourself.
- Remove the entire oven from the cabinet and set it on a piece of cardboard, old carpet, blanket so your floor is protected.
- Use a ¼ inch nut driver to remove the both rear access panels being careful to avoid any sharp edges.
- In order to access the lower thermostat, remove the cooling fan blower first.
- Remove the blower fan access panel and disconnect the baking element wires.
- Disconnect the power cable from the blower fan assembly, remove the fan assembly and set aside.
- Use a ¼ inch box wrench to remove the bracket screws holding the thermostat in place.
- Use a piece of tape to help indicate the thermostat wire orientation. It does matter which wire goes to which terminal.
- Attach the wires to the new thermostat and place it where the old thermostat was located. Tighten the thermostat in place with the screws you removed.
- Reposition the cooling blower fan assembly on its brackets and tighten it down with its screws.
- Reconnect its power wire.
- Button up the access plate.
- Remember to reconnect the bake element wires.
- Replace the rear access panel.
- Get someone to help you lift and slide the double oven back into its cabinet.
- Button up the frame with the screws you removed.
Please note that you must access the rear panels if you want to replace a heating element, thermostat, or cooling blower fan assembly. If you are having any other problems with your double wall oven, you may need the assistance of a professional appliance repair company.
888-453-7337Text or ring! ring!
Live ChatClick to say hi

Apr. 09, 2024
How to Fix the nF Error Code on a Samsung Washer

Apr. 09, 2024
Kenmore Elite Dryer Issues: How To Troubleshoot

Mar. 06, 2024
Microwave vs. Oven: Pros and Cons and How They Differ

Mar. 06, 2024
Self-Cleaning Oven Smell: Causes & Odor Reduction Tips

Mar. 06, 2024
Frigidaire Ice Maker Not Working? 7 Ways to Fix It

Feb. 05, 2024
Why Is Your LG Refrigerator Not Cooling? (9 Common Reasons)

Feb. 05, 2024
GE Oven F2 Error: Causes & Solutions

Jan. 03, 2024
How to Reset the Water Filter Light on a Samsung Refrigerator

Jan. 03, 2024
Maytag Washer Showing F5 Error Code? Here’s What To Do

Jan. 03, 2024


