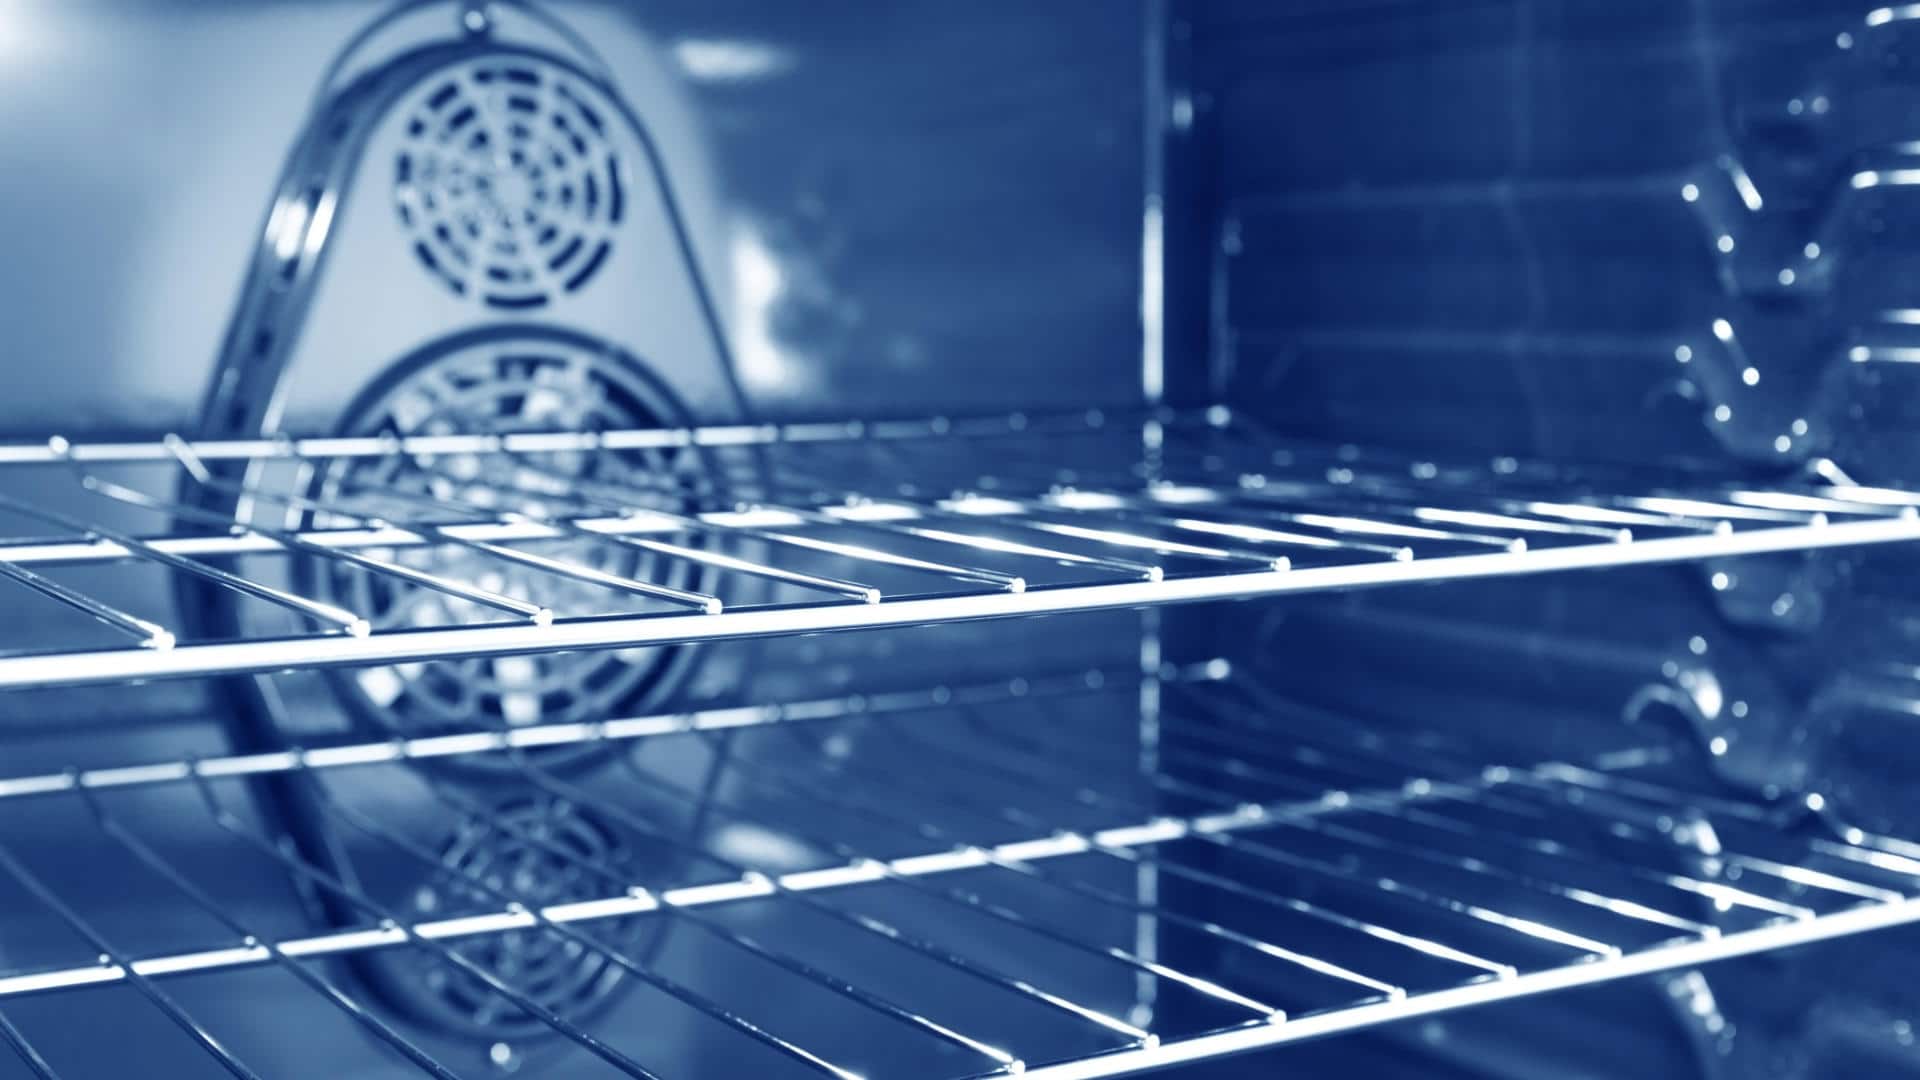
A self-cleaning oven can sometimes not turn back on or work correctly after it has gone through a self-cleaning cycle. One of the biggest contributing factors to this happening is that when the oven self-cleans it heats up to very high heat and this can damage components within the oven and stop it from working.
Here’s what to do when your self-cleaning oven won’t work.
Wait for the Oven to Cool Down
If your oven won’t open, then you should wait for the oven to cool down before checking any of the more internal components of the oven. The doors on self-cleaning ovens have been designed to lock and only open after a self-cleaning cycle when they cool down to a low enough temperature that’s safe for you to open the door.
The best thing you can do is simply wait an hour or so until the oven has cooled down and then check if you can open the door. If it still won’t open, then the next thing to do is reset the power.
Reset the Power
Resetting the power for your oven should unlock the door locks. To reset the power, simply turn the power off at the wall for a couple of minutes and then turn it back on or turn the circuit breaker off in your fuse box for a few minutes and then turn it back on again. At this point, you should be able to at least open the door to the oven. If the door opens, check if the oven now works as well. If not, move on to checking the wiring.
Damaged Wiring
If resetting the power doesn’t make your oven work, then the next thing to check is the wiring. At the back of your oven, several wires connect components of your oven to the control board. Even though these wires are insulated, they can fray over time and become faulty. The high heat from self-cleaning your oven can make this happen a lot sooner too.
Checking the wiring is very easy; you just have to pull your oven out from the wall and then inspect it for any obvious signs of wear and tear. If you find wear and tear, then you’ll need to replace the wire harnesses completely. Once replaced, you can then plug the oven back in at the power source and check if it works.
Thermal Fuse
If the wires are fine or if you’ve replaced them and the oven still won’t work, then the next component to check is the thermal fuse. The purpose of the thermal fuse is to protect your safety by tripping when the oven gets too hot, and this turns off all electricity to the oven, making it stop operating. As mentioned above, when you run a self-cleaning cycle, the oven heats up to a very high temperature, so a tripped thermal fuse is a likely cause of the oven not working.
One of the most obvious signs that the thermal fuse is faulty is if the display on your oven works but the oven’s heating element does not.
To check the thermal fuse, you will need access to the back of the oven again. Once you’ve located the fuse (check your manual if need be), you can use a multimeter to check it for continuity. If the thermal fuse has tripped, then it won’t have continuity, and if it hasn’t tripped, then it will have continuity.
If the thermal fuse has tripped, then you’ll need to replace it. After you have successfully changed the fuse, you can plug the oven back into the power source and see if it now works. If your self-cleaning oven still won’t work, then the final component you can check is the control board.
Control Board
The control board in your oven can also get damaged from your oven overheating. When this happens, your oven won’t work correctly, because the control board is responsible for making a lot of components in your oven work – including the self-cleaning function.
When the control board is faulty, you should be able to see evidence of it not working correctly, such as the display panel not working as it should, the temperatures of your oven not being accurately measured, and the heating elements not working. However, the best way to know for sure if it is faulty is to use a multimeter.
Once you have access to the control board (check your manual if necessary), you can use the multimeter to check it for continuity. If the test shows no continuity, then it will have to be replaced.
Replacing the control board is actually not that difficult. You just have to disassemble the oven so you have full access to it and then unplug it and unscrew it from the oven before replacing it with a new one. Just make sure that you get the correct replacement part.
Once you have replaced the control board, you can then put the oven back together again, plug it back into the power source, and try to turn the oven back on. Hopefully, at this point, your oven is now working again!

How to Fix the nF Error Code on a Samsung Washer

Kenmore Elite Dryer Issues: How To Troubleshoot

Microwave vs. Oven: Pros and Cons and How They Differ

Self-Cleaning Oven Smell: Causes & Odor Reduction Tips

Frigidaire Ice Maker Not Working? 7 Ways to Fix It

Why Is Your LG Refrigerator Not Cooling? (9 Common Reasons)

GE Oven F2 Error: Causes & Solutions

How to Reset the Water Filter Light on a Samsung Refrigerator

Maytag Washer Showing F5 Error Code? Here’s What To Do


