

Fred's Appliance
September 9, 2019
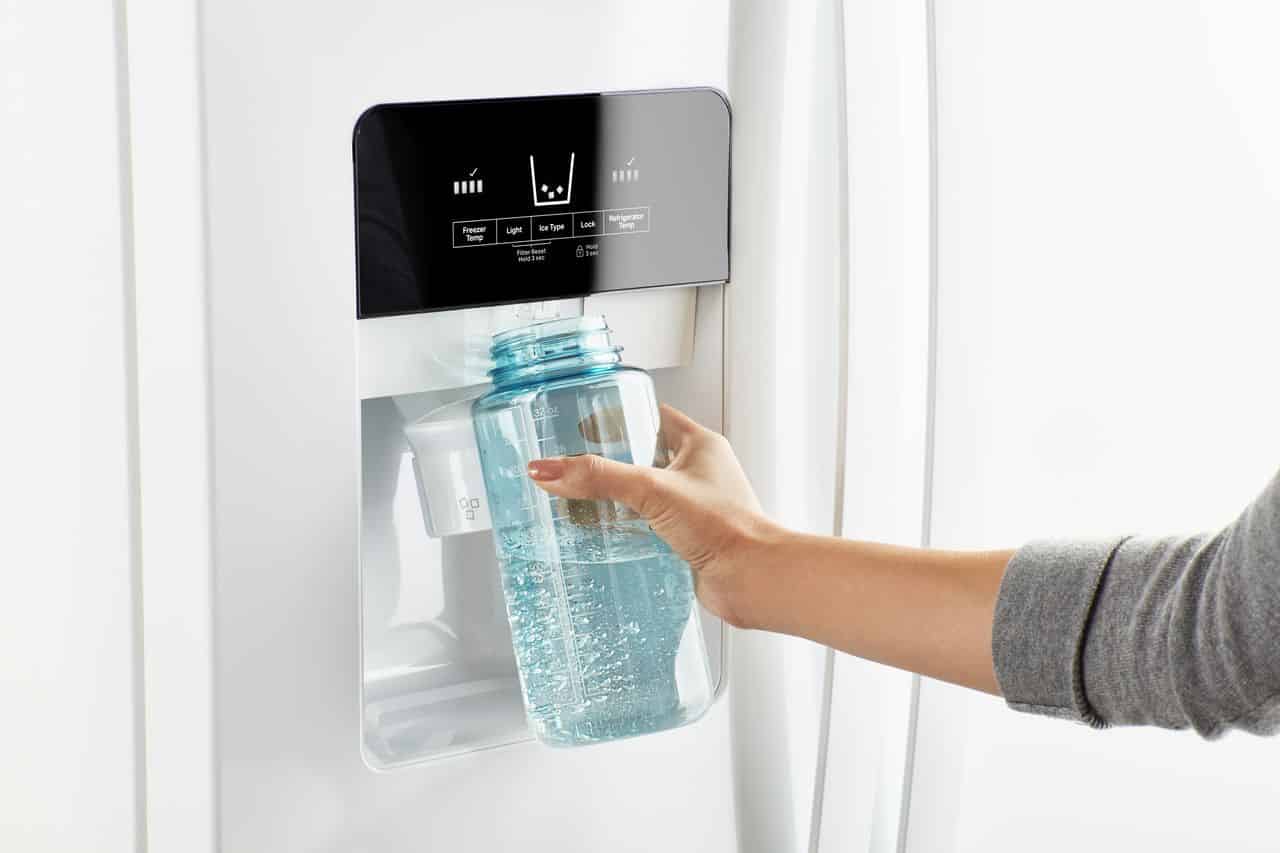
Refrigerator Repair
Plastic in the freezer doesn’t last forever. Especially a constantly-active piece like your ice maker bucket. Especially if you’ve had to perform other minor repairs to break up ice or handle leaks. A family ice maker gets tons of use and is sometimes damaged just by moving large items in and out of the freezer.
If your Whirlpool, Kenmore, Kitchenaid, or Maytag freezer ice bucket has broken, you can replace it without replacing the whole fridge or ice maker. The good news is that this repair is entirely mechanical, and you don’t have to open up a refrigerator panel to do it. If you’re handy with a pair of needle-nose pliers, you can replace the bucket of your Whirlpool ice maker.
Supplies
Start by gathering your supplies. This repair is best done in one continuous sequence without going to look for a screwdriver. You will need a pair of needle-nose pliers and a screwdriver. The type of screw cap differs by model, so a combo wrench or socket screwdriver kit is your best bet. And, of course, you will need a replacement ice maker bucket of the correct product number.
- Replacement Ice Maker Bucket
- Needlenose Pliers
- Towel
- Screwdriver or Combo Wrench
- Flat Work Surface
Remove the Ice Bucket
The first step is to take out the entire ice bucket assembly in order to work on it. There is no way to take out the ice bucket without first taking it out of the fridge.
- Pull Out the Entire Bucket Assembly
Removing the ice bucket is easier than it looks. Simply grasp it firmly and pull the entire assembly out away from the freezer back panel. It will detach from a mechanical coupler as you do so.
- Place on Work Surface
Set a towel out over your work surface, then place your ice bucket upside down on the towel. The opening should be facing the table and you should be looking at a thin metal post secured along the underside of the ice bucket.
Detach the Actuator Arm
The actuator arm is the metal bar across the now-top of the ice bucket assembly. It attaches the bucket to the rest of the assembly and will need to be detached from the bucket before you can continue.
- Release the Arm Spring with Pliers
Use your needle nose pliers to grasp the small spring wire in the groove of the plastic arm stand. Pull the wire away to release the spring. Twist the spring to release the other side.
- Remove the Retainer Bracket and Screws
Unscrew the screws holding the bracket onto the arm stand. Pull the entire retainer bracket away and set it aside with the screws. This will release the actuator arm.
- Remove the Screws Inside the Ice Bucket
Flip your ice bucket up on its heavy end, with the auger tip pointing up. You should be able to see two screws inside the bucket that are securing the bucket to the auger assembly. Remove these screws and the ice bucket will finally be loose.
- Pull Out the Old Ice Bucket
Removing the ice bucket is tricky. Carefully guide it out around the metal auger until it can be pulled away free. once the ice bucket is loose, you can discard it, the old bucket will not be needed later.
Install the New Ice Bucket
Get the replacement ice bucket for your refrigerator and unpackage it completely. Be sure to remove all small pieces of packaging that may be fitted around small, thin, or protruding pieces. When it’s ready to go, you’re ready to install.
- Guide Bucket Around the Auger
Installing the new bucket requires the same maneuver in reverse. Carefully guide your new ice maker bucket in around the auger spiral until it can set into the housing.
- Screw Into the Assembly Housing
Settle the new ice bucket into the assembly housing and retrieve the screws you just removed. Tighten the screws firmly to ensure the bucket does not come loose later when it’s full of ice.
- Align Actuator Arm with Mounting Stand
Move the actuator arm back into place to rest on the arm stand of the new ice bucket. The spring should be on the outer side of the stand, as it was bef.re
- Set the Retainer Bracket over the Actuator Arm
Retrieve the actuator arm retainer and place it over the arm on the new stand. Reinstall the screws and tighten them securely. It should look almost identical to the previous setup.
- Wind the Actuator Spring Into Place
To get the spring back into place, turn the actuator spring counter-clockwise. Carefully set the securing wires into place. Use the needle nose if this is difficult to do with your fingers.
Return the Ice Bucket
The final stage is putting the entire ice bucket assembly back into your refrigerator. once this is done, your ice maker should return to normal function, conveniently filling with ice for your convenience.
- Slide the Ice Bucket Assembly Into Place
Now that your new ice bucket is fully secured to the assembly, you can put the entire assembly back into the fridge. Fit the assembly back into its slot, but don’t press in yet.
- Rotate the Auger to Seat the Coupler
If the assembly doesn’t fit perfectly at first, manually turn the auger until you feel the mechanisms fit together. Because this is an entirely mechanical piece, you will need to line up the gears for the assembly to fit into place.
-As you can see, this repair requires only mechanical action and is not that complex to perform. Losing the use of your ice maker can put a real cramp in your day, but it doesn’t have to last long. Whether your ice maker broke in a flurry of kitchen activity or aged faster than the fridge itself, with the right replacement part you can have this repair done in less than half an hour. If you don’t have the time or inclination to handle this repair on your own, or if your ice maker continues to act up after getting a new bucket, contact us today! Our team will be happy to help you with your Whirlpool ice maker repairs.
888-453-7337Text or ring! ring!
Live ChatClick to say hi

Apr. 09, 2024
How to Fix the nF Error Code on a Samsung Washer

Apr. 09, 2024
Kenmore Elite Dryer Issues: How To Troubleshoot

Mar. 06, 2024
Microwave vs. Oven: Pros and Cons and How They Differ

Mar. 06, 2024
Self-Cleaning Oven Smell: Causes & Odor Reduction Tips

Mar. 06, 2024
Frigidaire Ice Maker Not Working? 7 Ways to Fix It

Feb. 05, 2024
Why Is Your LG Refrigerator Not Cooling? (9 Common Reasons)

Feb. 05, 2024
GE Oven F2 Error: Causes & Solutions

Jan. 03, 2024
How to Reset the Water Filter Light on a Samsung Refrigerator

Jan. 03, 2024
Maytag Washer Showing F5 Error Code? Here’s What To Do

Jan. 03, 2024


