

Fred's Appliance
July 21, 2023
Refrigerator Repair
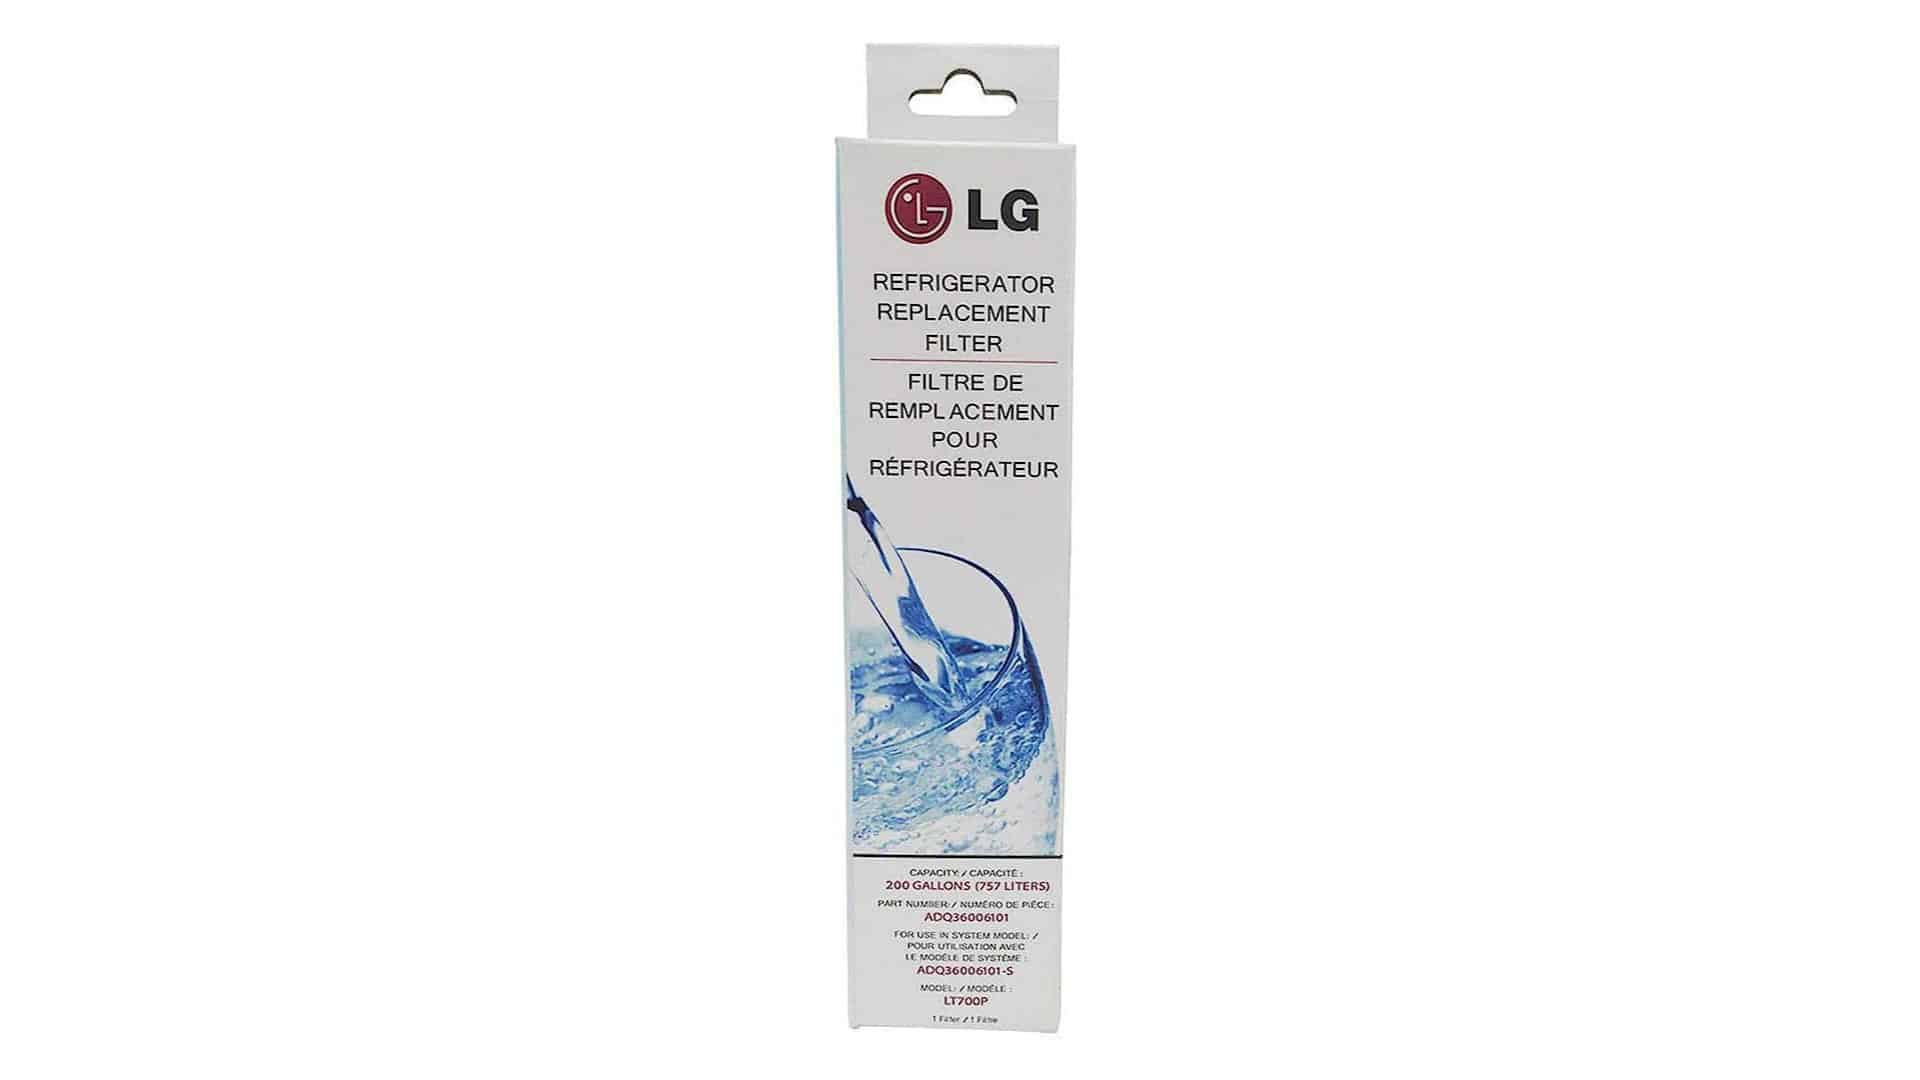
Replacing the water filter in your LG refrigerator is a great way to ensure you’re getting the freshest and cleanest water. With the right tools and a few simple steps, you can easily replace the filter yourself. Follow these instructions and you’ll be enjoying fresh, filtered water in no time.
Benefits of replacing the LG refrigerator water filter
Replacing the water filter on your refrigerator is not just a maintenance task, but it also comes with several benefits. The primary benefit is that it ensures that you and your family are drinking clean and safe water.
A dirty or old filter can lead to impurities and contaminants in your water, which can be harmful to your health. That’s why we recommend replacing your LG refrigerator water filter every six months. By doing so, you’ll ensure that your water is free from harmful substances, tastes great, and is safe to drink.
The water filter removes impurities, such as lead, chlorine, and other contaminants that may be present in your tap water. This process improves the taste and odor of your drinking water.
Installing a new water filter also helps to prolong the life of your refrigerator. Over time, the buildup of contaminants can damage the internal components of your refrigerator, leading to costly repairs. By replacing the water filter regularly, you can prevent such damage and extend the lifespan of your appliance.
Moreover, filtered water is an environmentally friendly choice. Instead of buying bottled water, which contributes to plastic waste, you can use your refrigerator’s water dispenser and reduce your carbon footprint.
How to replace an LG refrigerator water filter
1. Preparing to replace the water filter
Preparing to replace the water filter in your LG refrigerator is an important step in maintaining the quality of your drinking water. Before starting the replacement process, turn off the water supply to the refrigerator and unplug the unit to ensure safety. It’s also important to check the model number of your LG refrigerator and purchase the correct replacement filter.
Once you have the replacement filter, read the instructions carefully before starting the replacement process. This will ensure that you have all the necessary tools and that you understand the steps involved in the replacement process.
Make sure that you’re aware of the recommended replacement schedule for your specific LG refrigerator model. This will ensure that you are replacing the water filter at the appropriate interval to maintain the quality of your drinking water.
2. Access and remove the old filter
The first step to replacing your LG refrigerator water filter is to access and remove the old filter. The process may seem daunting at first, but with a little guidance, it can be done easily and quickly.
First, locate the filter compartment, which is typically located in the upper right-hand corner of the refrigerator. Once you have found the compartment, push the release button or lever to open the cover.
Next, carefully remove the old filter by twisting it counterclockwise. Be sure to have a towel or container handy to catch any excess water that may spill out.
Some models may have a locking mechanism that requires a bit more force to remove the old filter. If this is the case, refer to your owner’s manual for specific instructions. Once the old filter is removed, dispose of it properly.
3. Installing the new filter
Installing a new filter in your LG refrigerator is a simple process that can be done in just a few minutes. To begin, locate the filter housing inside your refrigerator and remove the old filter. Before installing the new filter, make sure to remove any protective covers or seals.
Insert the new filter into the housing and turn it clockwise until it locks into place. Once the filter is securely in place, run water through the dispenser for a few minutes to flush out any air and impurities. It’s important to note that you should replace your LG refrigerator water filter every six months to ensure that your water and ice are clean and fresh.
Troubleshooting tips for common problems
If you’ve just replaced your water filter and are still experiencing issues with your water quality, there are a few troubleshooting tips you can try before calling in a professional. First, make sure that the filter is installed correctly and tightly secured. If it’s loose or not seated properly, it can cause leaks or reduced water flow.
Next, check your water supply line for any kinks or blockages that may be preventing water from flowing properly. You can also try flushing the system by running several gallons of water through the dispenser to remove any air pockets or trapped particles.
If you’re still experiencing issues, it may be time to replace other components of the refrigerator, such as the water valve or dispenser switch. Remember, regular maintenance and filter replacements can help prevent common problems and ensure that your LG refrigerator continues to provide clean and fresh-tasting water for years to come.
The bottom line
Replacing your LG refrigerator water filter is a simple and necessary task that can greatly improve the quality of your drinking water. By following the steps outlined in this article, you can ensure that your filter is properly installed and functioning correctly.
Remember to replace your filter every six months, or sooner if you notice a decrease in water flow or taste. Always purchase a genuine LG replacement filter to ensure optimal performance and avoid any potential damage to your refrigerator. By taking the time to replace your filter regularly, you can enjoy clean and refreshing water for you and your family.
888-453-7337Text or ring! ring!
Live ChatClick to say hi

Apr. 09, 2024
How to Fix the nF Error Code on a Samsung Washer

Apr. 09, 2024
Kenmore Elite Dryer Issues: How To Troubleshoot

Mar. 06, 2024
Microwave vs. Oven: Pros and Cons and How They Differ

Mar. 06, 2024
Self-Cleaning Oven Smell: Causes & Odor Reduction Tips

Mar. 06, 2024
Frigidaire Ice Maker Not Working? 7 Ways to Fix It

Feb. 05, 2024
Why Is Your LG Refrigerator Not Cooling? (9 Common Reasons)

Feb. 05, 2024
GE Oven F2 Error: Causes & Solutions

Jan. 03, 2024
How to Reset the Water Filter Light on a Samsung Refrigerator

Jan. 03, 2024
Maytag Washer Showing F5 Error Code? Here’s What To Do

Jan. 03, 2024


