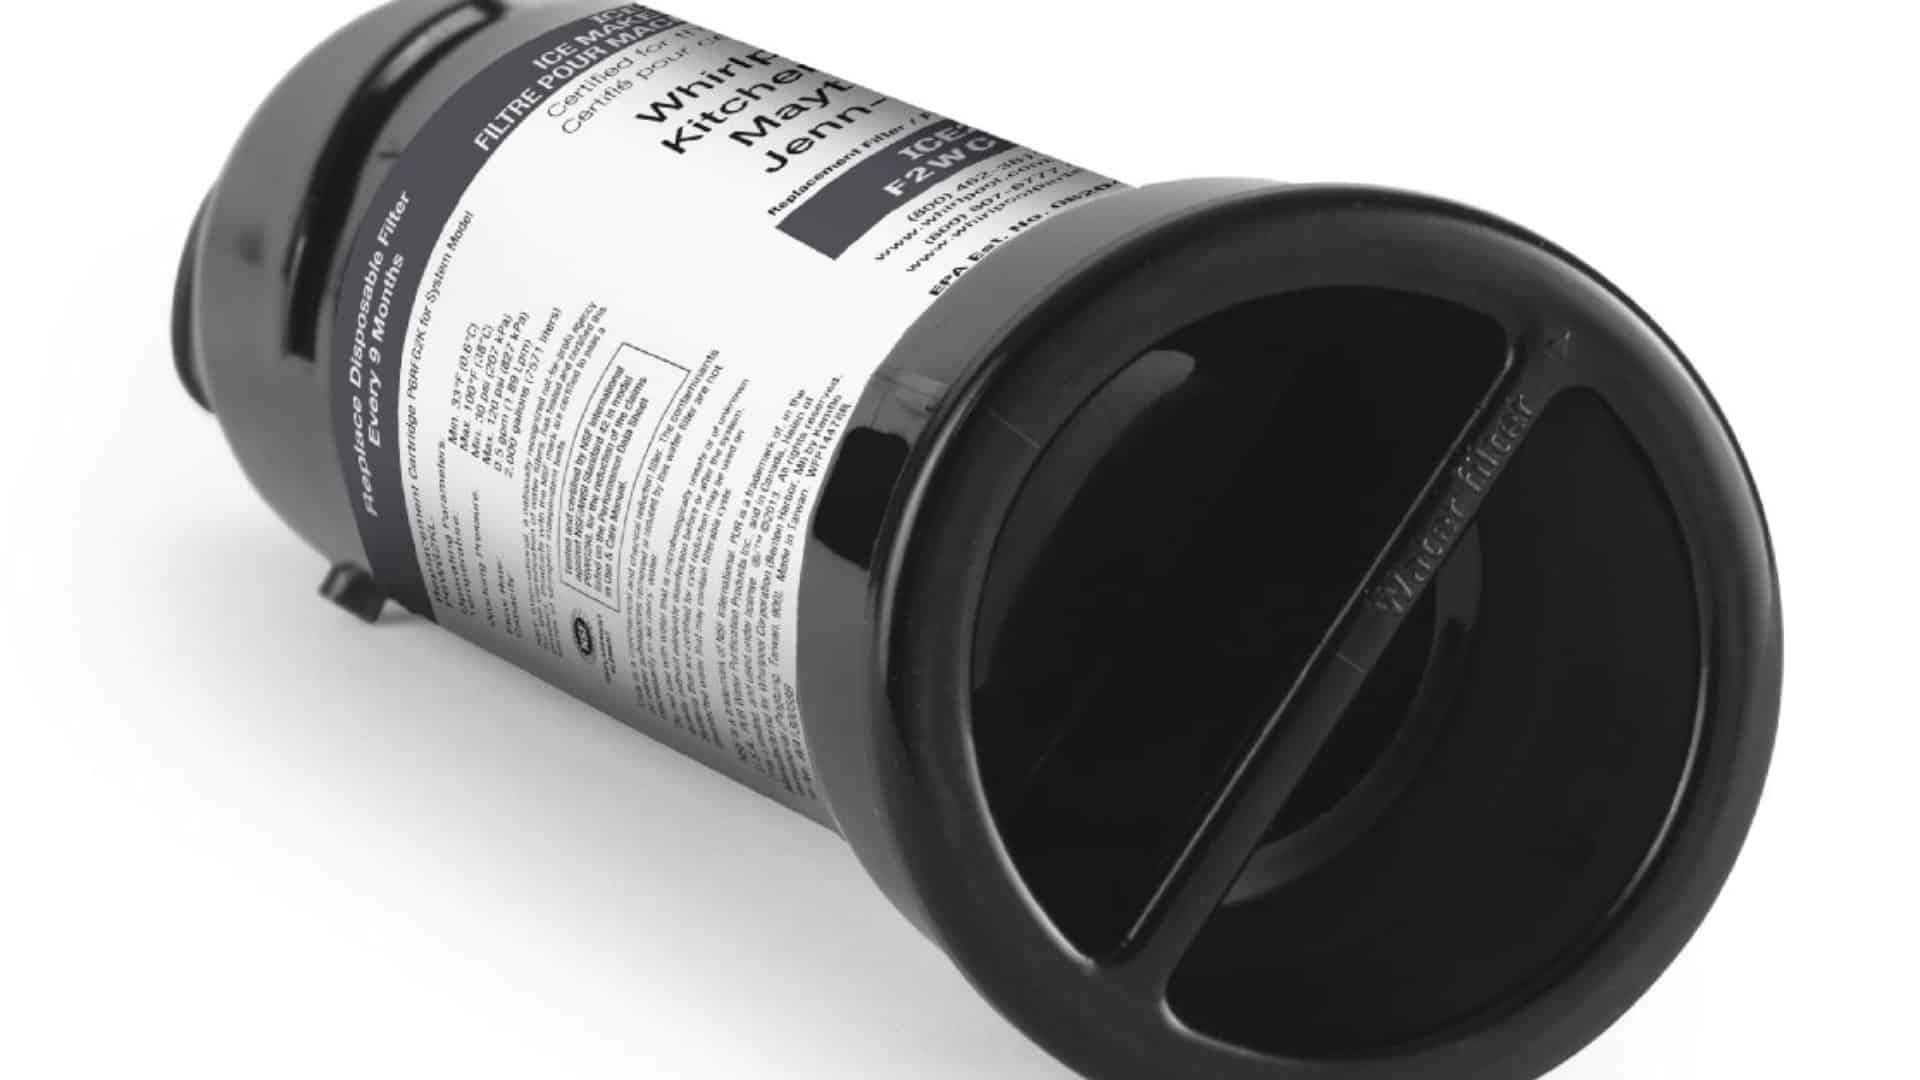
Ensuring your Whirlpool refrigerator consistently delivers refreshing, safe hydration is a priority. However, neglecting to replace the water filter can lead to unwelcome surprises!
This guide is applicable to most Whirlpool refrigerators, including models:
1ET25DKXGW002-A Y
3EAD19XMWR1
3ECKMF10
3ECKMF8
3ECKMF86
ED5FVGXWS07
WRB322DMBM00
WRF535SMBM00
WRF560SEHZ00
WRF560SEYM05
WRF736SDAM11
WRF736SDAM12
WRF736SDAM13
WRF736SDAM14
WRS322FDAM04
WRS325FDAM02
WRS325FDAM04
WRS571CIDM01
WRS571CIHZ01
WRX735SDBM00
When to replace the water filter
Ideally, Whirlpool refrigerator water filters should be replaced every six months. Going beyond this timeframe results in noticeable changes in water and ice quality: strange taste, murky appearance, or even black specks. Ice may emit unpleasant odors, and water flow could slow, producing smaller ice cubes.
The silver lining is that replacing the filter is simple, requiring no tools or unique expertise. Just make sure you select the correct replacement filter that matches your refrigerator’s model; using the wrong one won’t connect to your fridge’s water line.
Step 1: Find your water filter
Locating your Whirlpool refrigerator’s water filter depends on your specific model and the refrigerator’s design. Some models have the water filter concealed within the grille at the refrigerator’s base, while others tuck it away inside in the upper right back corner.
If you need help finding the filter, consult your refrigerator’s manual for guidance. It provides the information required to locate the water filter, ensuring you can proceed confidently.
Step 2: Prepare your space
Before changing your refrigerator’s water filter, take these steps to ensure a hassle-free process:
- Lay down a towel: To manage potential spillage during the filter replacement, place a towel under the filter area to catch any water drips.
- Clear the way: If your water filter is inside the refrigerator, remove any food or beverages that might obstruct your access.
- Ice maker off: Turn off the ice maker if your refrigerator features one to prevent water spillage during the replacement.
- Water supply: In some older refrigerator models, turning off the water supply before changing the filter is necessary. However, most modern refrigerators automatically shut off the water supply when you remove the filter, eliminating the need for this step.
- No electrical worries: Replacing the water filter is safe and doesn’t involve accessing any electrical components.
Step 3: Remove the water filter
Now, let’s focus on removing the old water filter from your Whirlpool refrigerator. The process varies slightly based on the filter’s location:
Grille-Mounted Filters: If your refrigerator’s water filter is in the grille, look for a button to the left of the filter. Pressing it firmly should release the old filter. In cases without a button, turn the filter a quarter turn counterclockwise. Depending on your model, you may need to push in on the filter while turning it to release it.
Interior Filters: Depending on your refrigerator’s design, you may need to pull down or lift the cover to access the filter. Once you’ve gained access to the filter, push it in and turn it counterclockwise to release it from the refrigerator.
If you face resistance, press more firmly on the release button or apply additional pressure when turning the filter. Sometimes, components can stick, requiring a little extra pressure.
Step 4: Install the new filter
Next, let’s install the filter. The process may vary based on your specific filter type:
Color-Keyed Cap Filters (Grille-Mounted): Most Whirlpool refrigerators with grille-mounted water filters use a color-keyed cap. Unscrew the cap from the old filter and transfer it to the new water filter. This cap is crucial for the secure attachment of the filter.
Simple Installation: If the filter lacks a color-keyed cap and isn’t grille-mounted, installation is more straightforward. Simply slide the new filter into the designated water filter slot. Depending on your model, you may need to turn the new filter clockwise or push it straight in until you hear a satisfying click.
Ensure that the new filter is oriented the same way as the previous one. If your water filter has arrows on it, check that they are aligned correctly.
Final Check: Before proceeding, check the filter is securely locked in place, and if applicable, ensure the water filter cover is closed.
Step 5: Flush the system
It’s crucial to flush the system before quenching your thirst with refreshing filtered water. This process cleanses the system, removing any carbon fines and trapped air that might have accumulated during the filter replacement.
Whirlpool recommends running approximately four gallons of water through the system after replacing the filter. It’s a simple process that ensures your water is pristine and free of any lingering particles. If you have a one-gallon jug, fill it up four times and discard the water.
Final tips
Reset the Filter Indicator: If your refrigerator features a “change filter” light, press the designated button on your refrigerator to reset it. This action ensures that the indicator reflects the new filter’s installation and allows you to monitor its lifespan accurately.
Reopen the Water Supply: If you had previously turned off the water supply before replacing the filter, remember to turn it back on now that the new filter is securely in place.
Now that the system is thoroughly flushed, your Whirlpool refrigerator is primed to deliver a consistent supply of fresh and safe drinking water. As you savor that first glass, you’ll instantly notice the remarkable difference in taste and quality. Cheers!

How to Fix the nF Error Code on a Samsung Washer

Kenmore Elite Dryer Issues: How To Troubleshoot

Microwave vs. Oven: Pros and Cons and How They Differ

Self-Cleaning Oven Smell: Causes & Odor Reduction Tips

Frigidaire Ice Maker Not Working? 7 Ways to Fix It

Why Is Your LG Refrigerator Not Cooling? (9 Common Reasons)

GE Oven F2 Error: Causes & Solutions

How to Reset the Water Filter Light on a Samsung Refrigerator

Maytag Washer Showing F5 Error Code? Here’s What To Do


