

Fred's Appliance
September 27, 2017
Refrigerator Repair
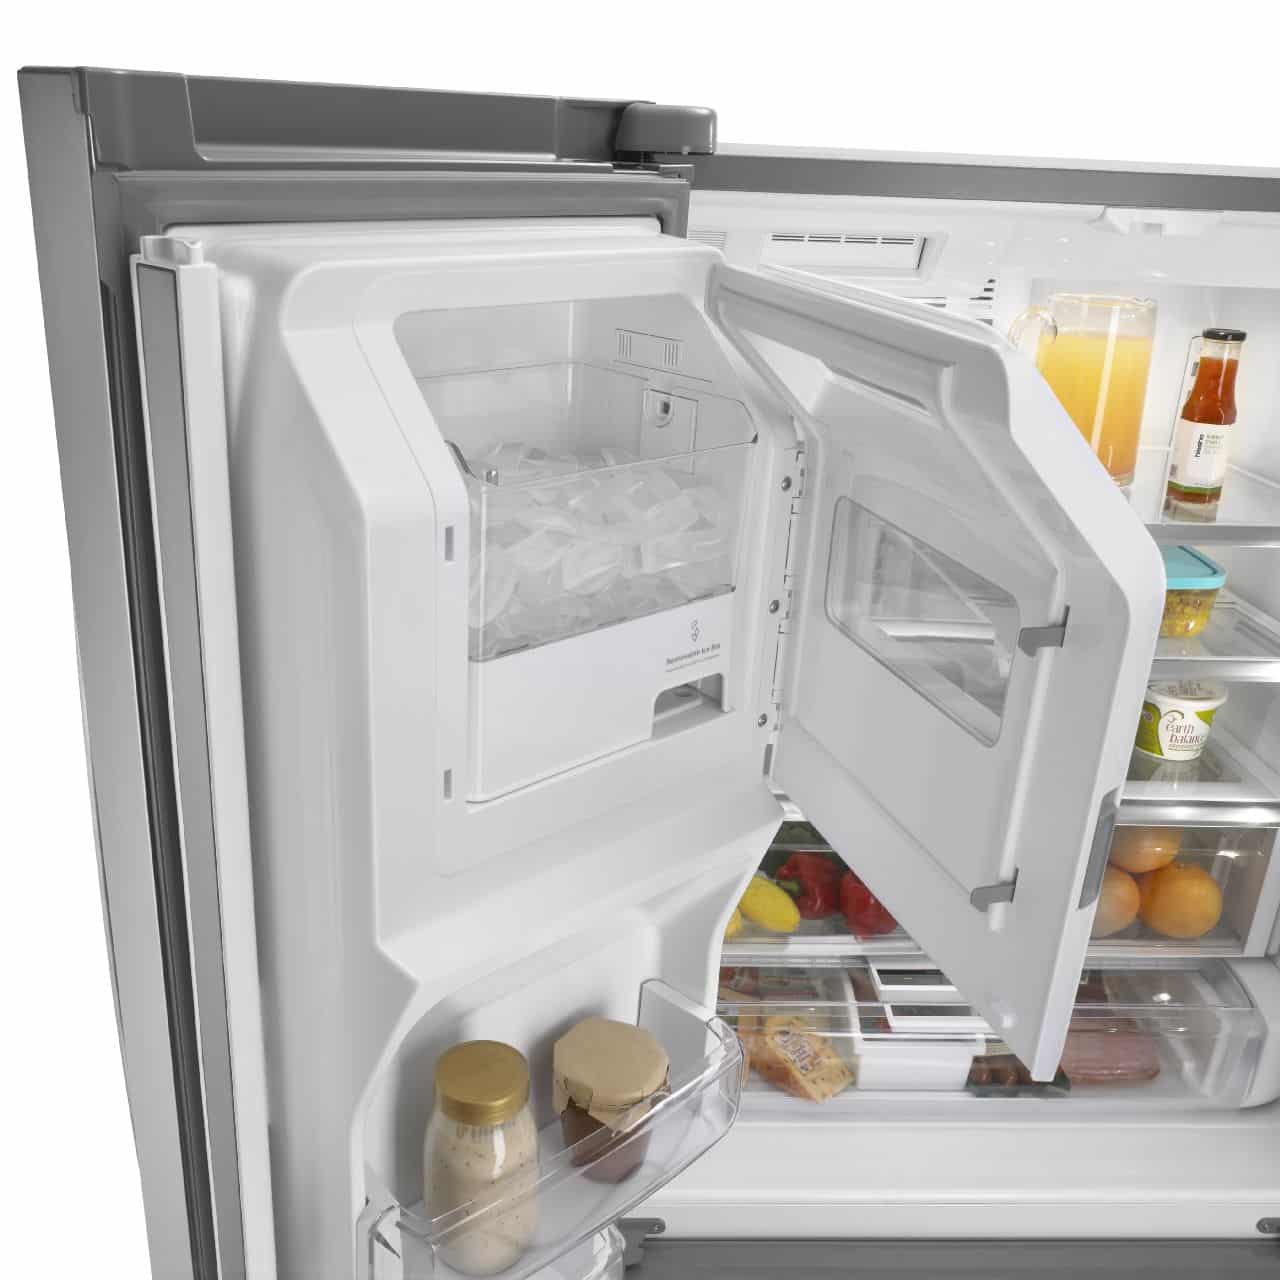
The older your fridge is, the less likely it is to be energy efficient either due to older, less efficient parts or due to breaks in the seal. One of the most common air leaks in fridges is through the gaskets lining of the refrigerator doors. These strips of rubber and plastic keep cold air from escaping but can get torn or start to compress and crack over the years. Here’s how to replace your Whirlpool refrigerator door gasket (#2159075) to extend the lifespan of your appliance.
- Unplug the refrigerator. Even if your refrigerator door doesn’t have an ice dispenser or any electrical components, unplugging or turning off the circuit breaker to an appliance is good practice anytime you make repairs.
- Set the new gasket in hot water or at in the sun to remove any creases. As it flattens and relaxes, you can continue to dismantle the refrigerator door and remove the old gasket.
- Open the door and empty the door bins to reduce weight. Then snap off the upper hinge cover and remove the 5/16″ bolts holding the hinge in place. Lift the hinge and spacer once you have removed the bolt, but be sure to hold it in place so you don’t put stress on the lower hinge.
- If you’re removing the door with an ice dispenser, carefully remove the wiring harness to the dispenser and disconnect the compression fitting to the water line in the bottom of the refrigerator behind the removable kickplate. These doors also tend to have an extra screw in the top hinge.
- Hold the door by the side and the handle, and lift it off the hinge. Set it on a flat surface to replace the gasket.
- Set the new gasket out on top of the old one to check its size. Then carefully peel the old gasket out, starting in the middle of the long side. Snip the gasket along its width, then pull it fully out of the liner and cut it the rest of the way, at which point you can easily pull the whole gasket out. Make sure you pull away in small sections instead of up so you don’t separate the lining groove.
- Cover a putty knife with tape and run it shallowly along the lining groove to remove any old debris.
- Work the gasket into place on the remaining corners before pushing it in along the outer edge of the gasket.
Once the gasket is fully in place, put the door back into place on the lower hinge and reattach any water lines and wires before reassembling the top hinge. Then plug your refrigerator back in and run your hand along the edge to check for any drafts caused by gaps in the new gasket. If you have other repairs on your to-do list for your refrigerator, check out more of Fred’s Appliance Service for step-by-step appliance repair tutorials.
888-453-7337Text or ring! ring!
Live ChatClick to say hi

Apr. 09, 2024
How to Fix the nF Error Code on a Samsung Washer

Apr. 09, 2024
Kenmore Elite Dryer Issues: How To Troubleshoot

Mar. 06, 2024
Microwave vs. Oven: Pros and Cons and How They Differ

Mar. 06, 2024
Self-Cleaning Oven Smell: Causes & Odor Reduction Tips

Mar. 06, 2024
Frigidaire Ice Maker Not Working? 7 Ways to Fix It

Feb. 05, 2024
Why Is Your LG Refrigerator Not Cooling? (9 Common Reasons)

Feb. 05, 2024
GE Oven F2 Error: Causes & Solutions

Jan. 03, 2024
How to Reset the Water Filter Light on a Samsung Refrigerator

Jan. 03, 2024
Maytag Washer Showing F5 Error Code? Here’s What To Do

Jan. 03, 2024


