

Fred's Appliance
July 25, 2017
Service
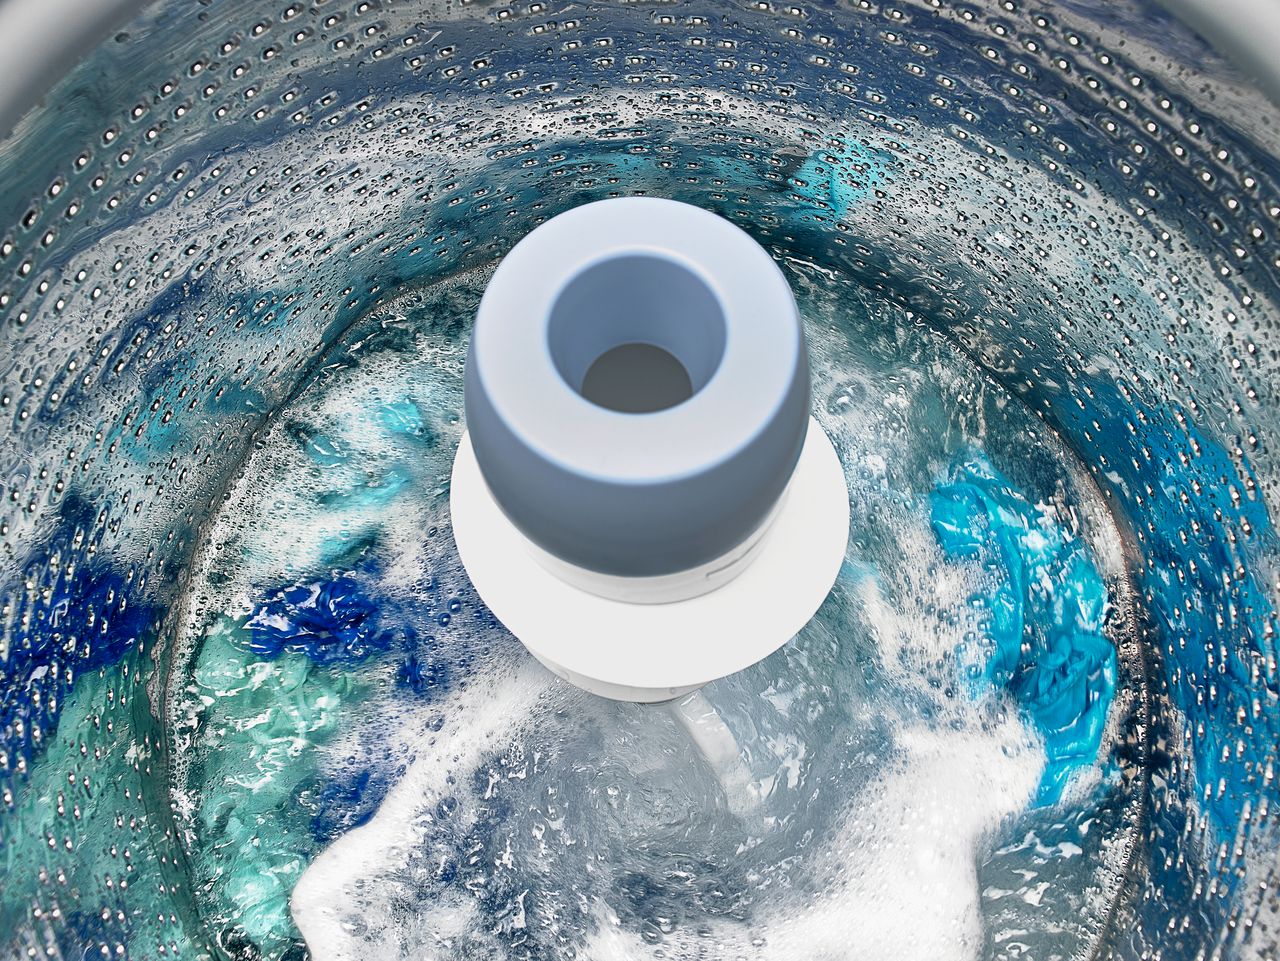
Water pouring out of your top-load washing machine can quickly turn a relaxing day into a chaotic one. While there are various malfunctions that can cause this issue, the one we will focus on is your appliance’s water level switch, also known as a pressure switch. When the water level switch fails, it can either cause your washer to not fill or to overfill. Luckily, replacing the part is not a complicated repair. To help you, we’ve created a step-by-step guide. Keep in mind that this is a generalized guide and that your specific model number could have variations on how to access, remove, and replace the component. This guide also covers a top-load washing machine, not a front load design.
How Does A Water Level Switch Work?
The pressure switch senses the water level through an air tube that runs from the switch in the control panel to the bottom of the outer wash tub. As water fills the tub it also enters the air tube, causing the pressure in the tube to increase. When the air pressure reaches the set level, it activates the switch and turns the incoming water off.
How To Replace The Water Level Switch.
Tools
- Phillips Screwdriver
- Slotted/Flathead Screwdriver
Safety first: Before starting any type of washer repair, unplug the appliance and turn off the water. Using safety equipment, such as work gloves and goggles is a must. Please read through the entire guide before attempting the repair, and if at any point you don’t feel comfortable, stop what you are doing and call a professional appliance repair technician.
- Remove the knob that sets the load size from the front of your control panel. If there are plastic end caps on the panel, pull them off. Detach the screws holding the control panel in place. Depending on the brand and model of your washer the screws can be on the back or front of the panel. Pull the control panel up, and swing it over the top of the back panel.
- Disconnect the air tube from the water level switch. To release the switch from its housing press the locking tab and rotate the component 180 degrees counterclockwise. Once the water level switch is free, detach the wire harness.
- Now it’s time to install the new pressure switch. Simply reconnect the wire harness to the new component and place the switch back into the control panel. This time you’ll need to rotate the switch clockwise instead of counterclockwise to engage the locking tab. Finally, reattach the air tube to the new water level switch.
- Swing the control panel back into position. Once you have snapped it into place, reinsert the screws, and if your washer has plastic end caps, put them back on. Next, reinstall the load size knob.
- Plug your washing machine back in and turn the water on.
If replacing the water level switch did not stop your washer from overfilling, please contact us today and we’ll be happy to inspect and fix the malfunctions.
888-453-7337Text or ring! ring!
Live ChatClick to say hi

Apr. 09, 2024
How to Fix the nF Error Code on a Samsung Washer

Apr. 09, 2024
Kenmore Elite Dryer Issues: How To Troubleshoot

Mar. 06, 2024
Microwave vs. Oven: Pros and Cons and How They Differ

Mar. 06, 2024
Self-Cleaning Oven Smell: Causes & Odor Reduction Tips

Mar. 06, 2024
Frigidaire Ice Maker Not Working? 7 Ways to Fix It

Feb. 05, 2024
Why Is Your LG Refrigerator Not Cooling? (9 Common Reasons)

Feb. 05, 2024
GE Oven F2 Error: Causes & Solutions

Jan. 03, 2024
How to Reset the Water Filter Light on a Samsung Refrigerator

Jan. 03, 2024
Maytag Washer Showing F5 Error Code? Here’s What To Do

Jan. 03, 2024


