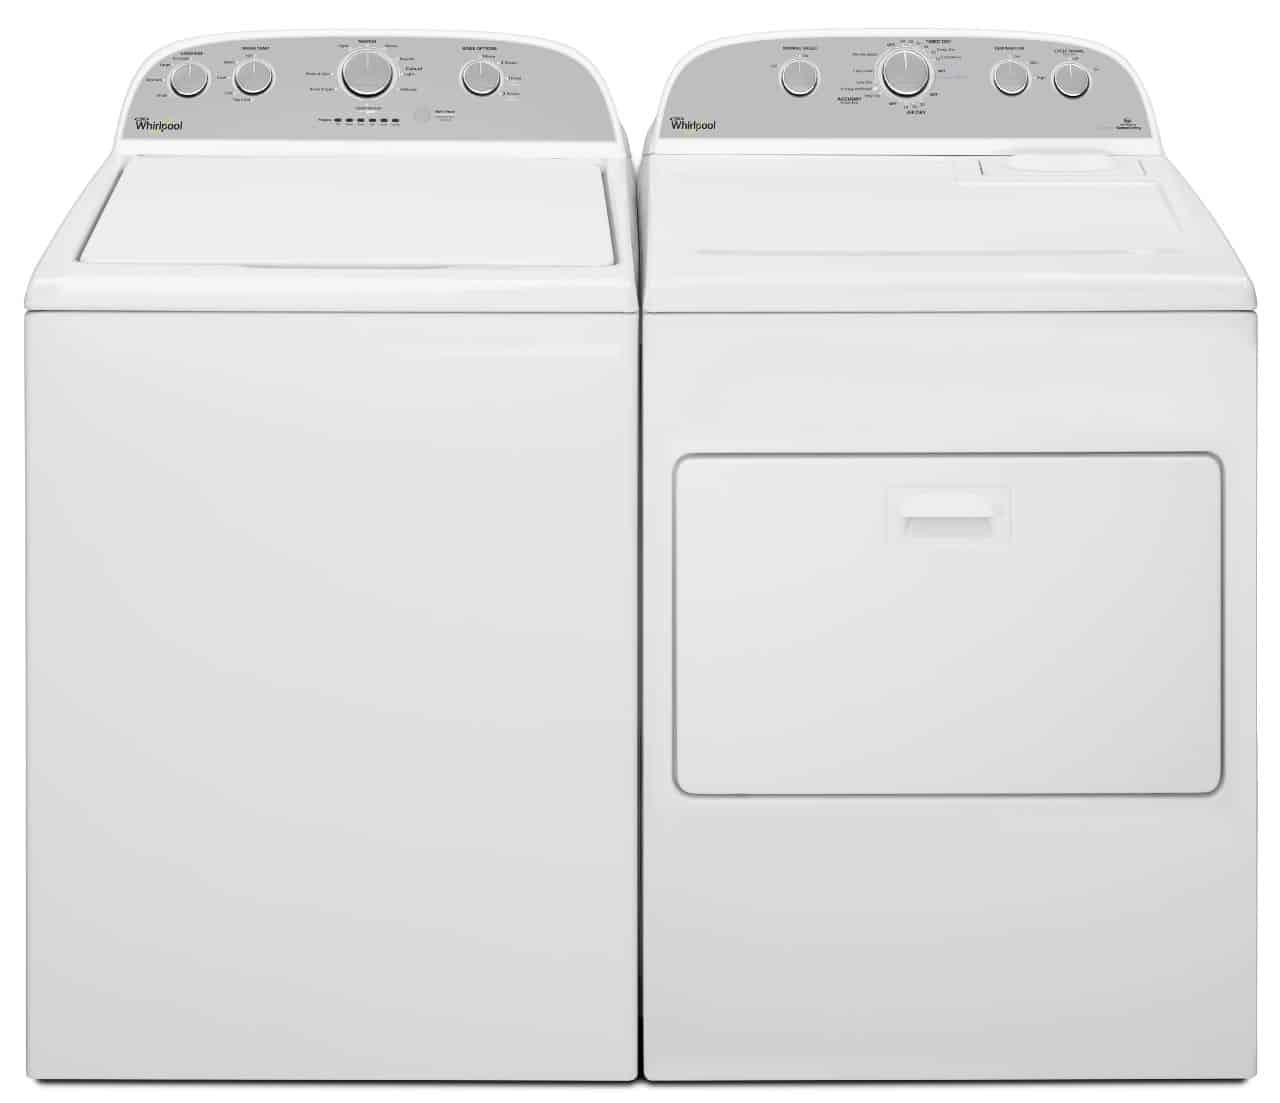
Before you retire your Whirlpool dryer model WED49STBW that isn’t starting, you may want to take a look at the door switch. The door switch sends a signal to the control board that either tells the dryer to start or stop, depending on whether the door is open or closed. If the switch is faulty the dryer won’t work. Fortunately, replacing a malfunctioning door switch is not a complicated or expensive repair. Below we’ve provided you with a step-by-step guide that explains how to remove and replace your Whirlpool dryer’s door switch.
Part Number W10569603
Safety First
Be sure to unplug your appliance and/or turn off the gas(Model WGD49STBW). Wearing work gloves and safety glasses is also a must. Please read through the entire guide before attempting the dryer repair. If you don’t feel confident, call an appliance repair professional to complete the replacement.
Required Tools
- Phillips screwdriver
- Putty knife
- Slot screwdriver
How to Replace a Door Switch
- Remove the lint screen from its housing, which is located on the top cover of your dryer. Beneath that are two screws that need to be removed with a Phillips screwdriver.
- With your putty knife depress the clips that hold the top cover of your dryer. To do so, slide the putty knife under the lid about an inch in from the right and left edge of your appliance. Once you’ve lifted the top up, lean it against the wall behind your dryer.
- Disconnect the wire harness from the door switch. Take your slot screwdriver and detach the locking tabs on the wire harness plug and then pull out the switch.
- Open up the dryer door and remove the two screws that hold the door switch in place. Pull the switch out and set it aside.
- To reinstall the new switch, slide it into the now empty square opening and line-up the screw holes. To securely attach the new door switch, reinsert the two screws you previously removed. Finally, plug the wire harness into the connector plug. Double check to ensure the lock tab on the wire harness has engaged.
- To finish up, lower the top of the dryer and snap it into place. Reinsert the screws into the lint duct housing and reinstall the lint screen.
- Plug your dryer in and turn the gas on to test the repair.
If your dryer won’t start and you can’t figure out why, please contact us today and we’ll be happy to diagnose and repair the malfunction.

How to Fix the nF Error Code on a Samsung Washer

Kenmore Elite Dryer Issues: How To Troubleshoot

Microwave vs. Oven: Pros and Cons and How They Differ

Self-Cleaning Oven Smell: Causes & Odor Reduction Tips

Frigidaire Ice Maker Not Working? 7 Ways to Fix It

Why Is Your LG Refrigerator Not Cooling? (9 Common Reasons)

GE Oven F2 Error: Causes & Solutions

How to Reset the Water Filter Light on a Samsung Refrigerator

Maytag Washer Showing F5 Error Code? Here’s What To Do


