

Fred's Appliance
March 7, 2023
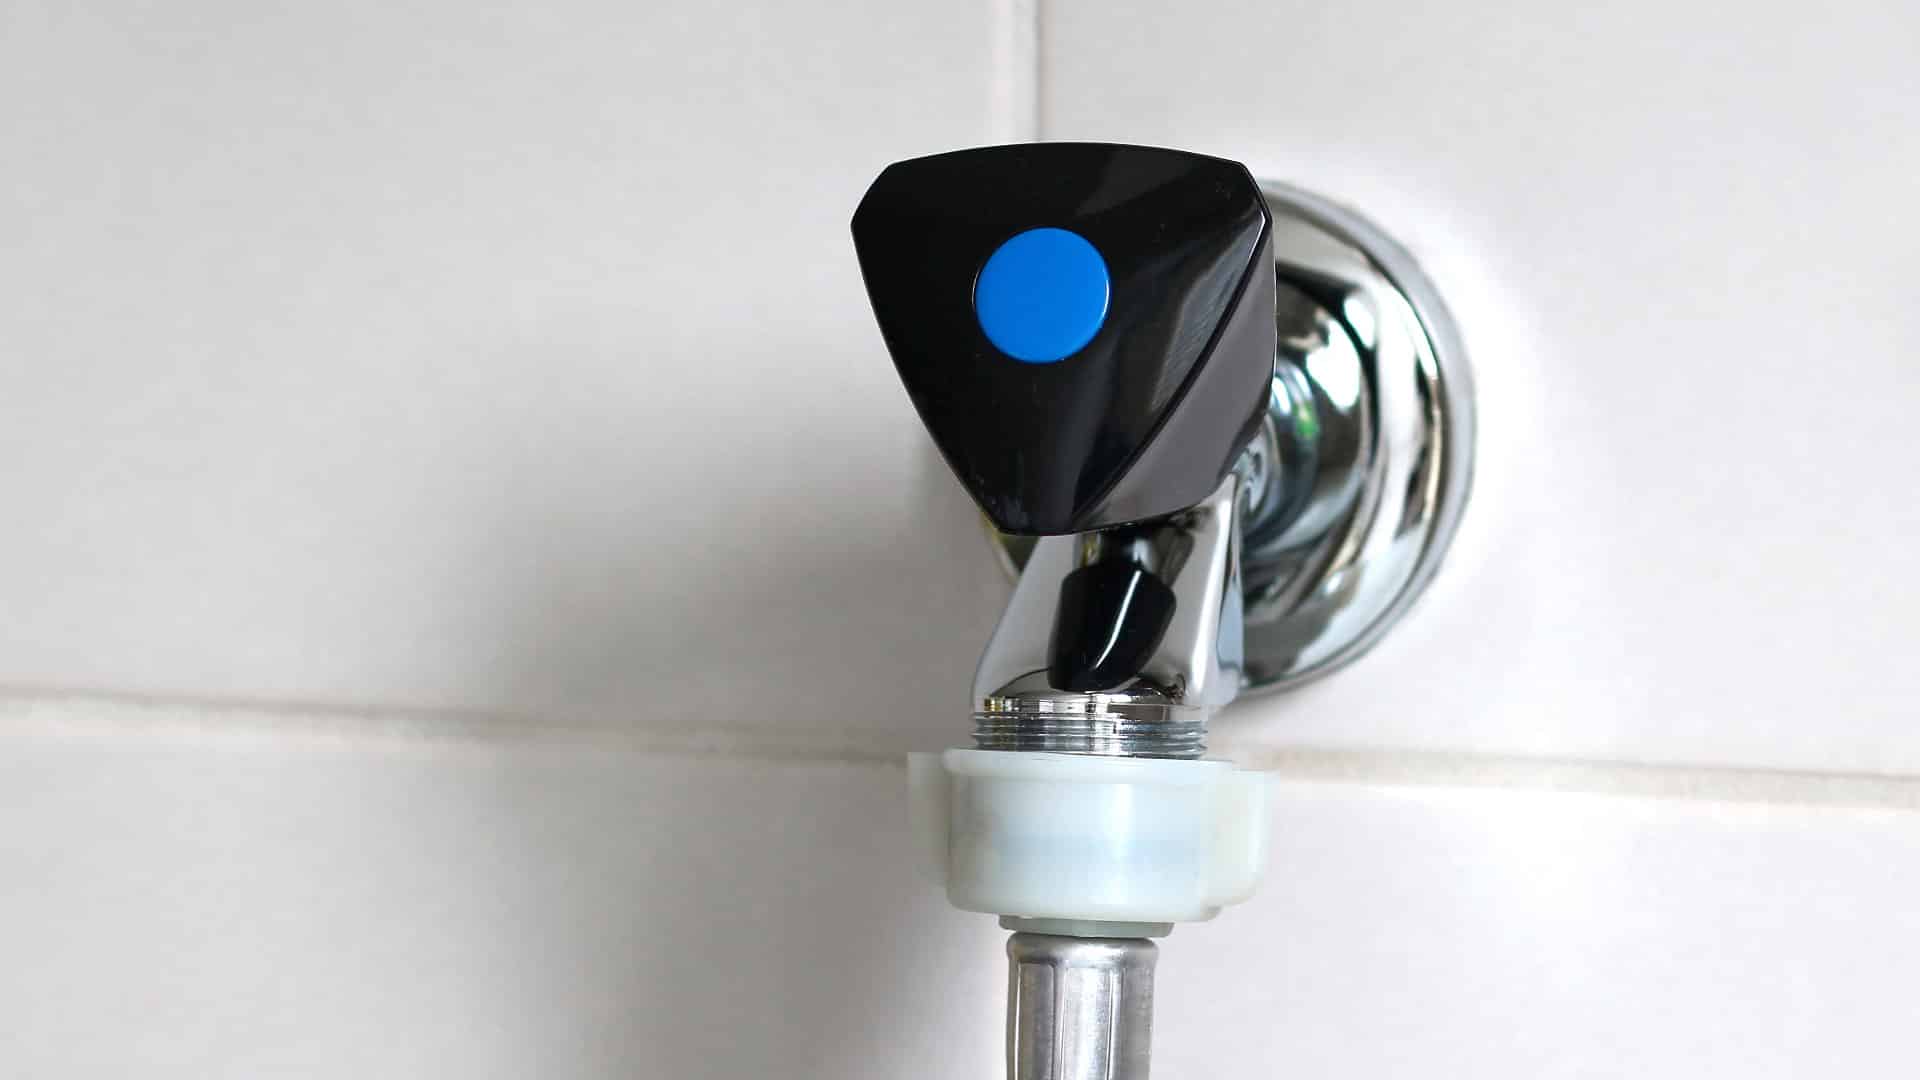
Washer Repair
If you notice a leak from your washing machine faucet, your first thought might be to call a plumber. But if you are a capable DIYer, this is not a difficult task at all to do yourself.
A faulty faucet can cause leaks and damage to the surrounding area, so it’s important to address the issue as soon as possible — and with long wait times for technicians you are likely to be able to get the problem sorted quicker!
Fortunately, replacing a washing machine faucet is a relatively simple task that can be completed with just a few tools and some basic knowledge. In this article, we will outline the five simple steps you can take to replace your washing machine faucet and get it up and running again.
Before you start
- Assemble your tools — you may need a wrench, pliers, or a screwdriver depending on how your water hoses are connected to your faucets.
- You will also need to have a replacement faucet ready. You can purchase these online or from your local hardware store.
- You will need Teflon tape to create a tight seal between the new faucet and the water hose — often when you purchase a replacement faucet it will come with tape, but if yours doesn’t you’ll need to buy the tape separately.
- You will also need to disconnect your washing machine from the power supply, and ensure that you have towels on hand in order to mop up any leaks.
Step 1. Turn off the water supply
Before you begin replacing the washing machine faucet, turn off the water supply to the machine. There is usually a valve at the back of your machine that you can turn that will disconnect the water supply from the washer only, so that you don’t have to leave your entire household without water while replacing the faucet. If you can’t see a valve, you will need to shut off the mains water supply to the house while you work.
Step 2. Remove the old faucet
Now that the water supply is off, you will need to remove the old faucet. Firstly, disconnect the water hoses from the old faucet and remove the mounting hardware that holds the faucet in place. This is where the tools you have assembled might come in handy.
Some faucets are attached to the water hose with clips, and may need pliers to remove. Sometimes the clips may be fixed in place with small screws, in which case you’ll need to use your screwdriver. You may need to use your wrench to undo any nuts or bolts that are holding the mounting hardware in place.
All washing machines are set up differently, so go slowly and carefully so that you don’t accidentally damage anything. If you find that the bolts or clips are not budging, try spraying some lubricant spray such as WD-40 on them.
Have some old towels on hand as there may be a bit of water dripping once the old faucet is removed. Carefully pull the old faucet out of the washing machine. Now you are ready to install the new faucet!
Tip: If you think there is a chance you might forget how the mounting hardware and the hose clips fit together, take a picture of them before you take them apart. This will help you put them back together if you get stuck.
Step 3. Install the new faucet
Take your Teflon tape and wrap it tightly around the thread of your new faucet to ensure a tight seal. Then take your new faucet and insert it into the opening in the washing machine and secure it with the mounting hardware, using your wrench to tighten the nuts. Make sure that the faucet is properly aligned and tightened in order to avoid any leaks.
Step 4. Reconnect the water hoses
Reconnect the water hoses to the new faucet, making sure that they are properly tightened and secure. If they were held in place with clips and screws, make sure they are put together exactly the same and that the screws are done up tightly.
Step 5. Turn on the water supply
Finally, turn on the water supply to the washing machine and check for leaks. Run the machine through a cycle to ensure that the new faucet is working properly. If there are any leaks, turn off the water supply and tighten the connections until the leaks are resolved.
You will need to make sure you have towels on hand when you first start your machine again just in case it starts leaking. If the new faucet leaks when you try it out, the issue can be solved most of the time by adding more Teflon tape to the thread and ensuring it is wrapped neatly and tightly.
Something to check
Now that your faucet is successfully replaced, don’t forget to ensure that any water from the initial leak is totally dried. Leaving pooled water can damage floors and drywall, and can lead to mildew and other issues.
You may want to pull the washing machine away from the wall to check underneath it for any issues, and you may also want to run a fan or a heater in the area if you do find any dampness — just to help speed up the drying process.
888-453-7337Text or ring! ring!
Live ChatClick to say hi

Apr. 09, 2024
How to Fix the nF Error Code on a Samsung Washer

Apr. 09, 2024
Kenmore Elite Dryer Issues: How To Troubleshoot

Mar. 06, 2024
Microwave vs. Oven: Pros and Cons and How They Differ

Mar. 06, 2024
Self-Cleaning Oven Smell: Causes & Odor Reduction Tips

Mar. 06, 2024
Frigidaire Ice Maker Not Working? 7 Ways to Fix It

Feb. 05, 2024
Why Is Your LG Refrigerator Not Cooling? (9 Common Reasons)

Feb. 05, 2024
GE Oven F2 Error: Causes & Solutions

Jan. 03, 2024
How to Reset the Water Filter Light on a Samsung Refrigerator

Jan. 03, 2024
Maytag Washer Showing F5 Error Code? Here’s What To Do

Jan. 03, 2024


