

Fred's Appliance
July 8, 2019
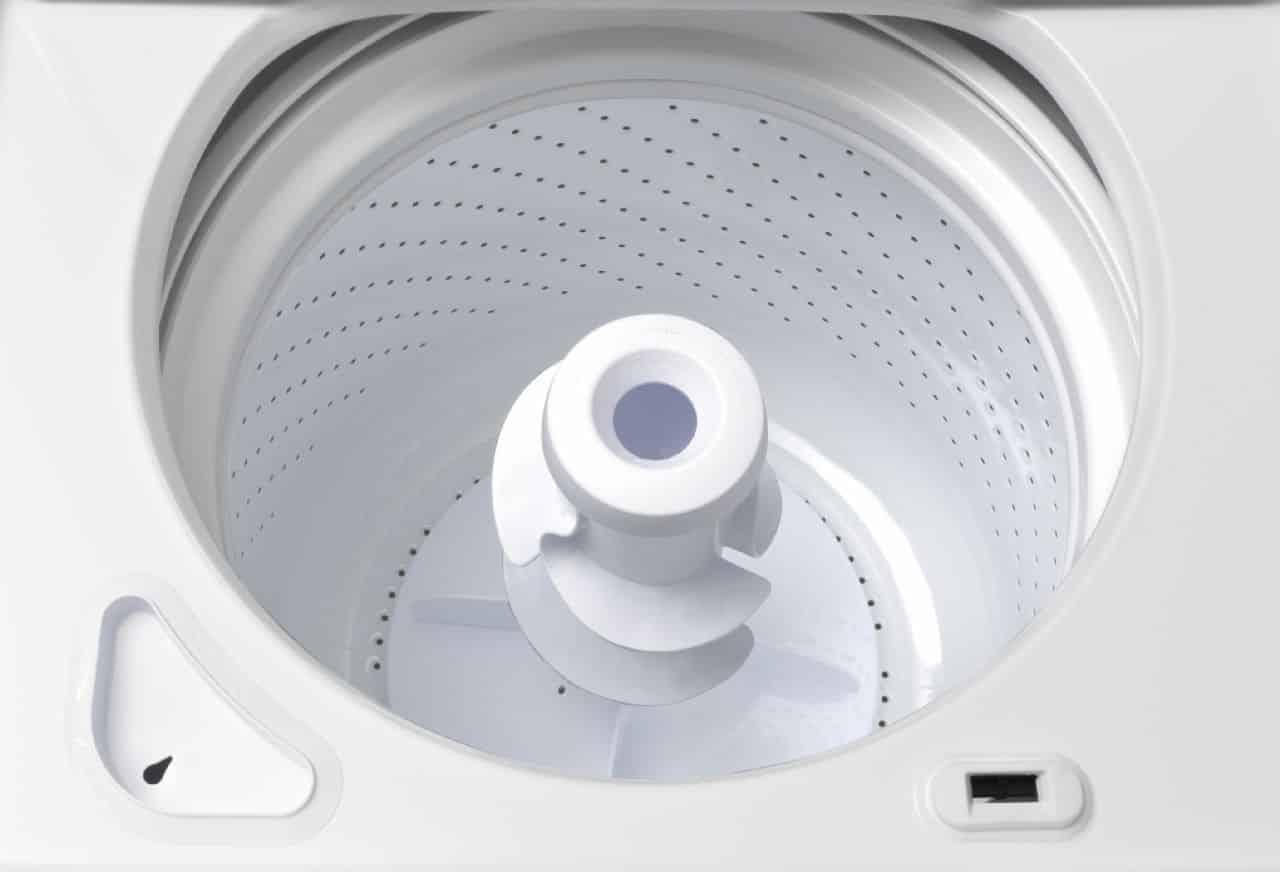
Washer Repair
Do you own a Whirlpool washing machine that has a timer problem? Does your washer stall out in the middle of a wash or rinse cycle? When the final rinse cycle is completed, and as you remove your wash from the bin to place in the dryer, does everything seem to be more damp than usual?
Have you ever had the washer stall out in the middle of a wash cycle with everything swimming in deep dark dank water leaving you helplessly wondering what to do next?
The problem with your washer could be caused by the failure of one or more different reasons. More than likely the timer motor has failed and should be replaced. The part is relatively inexpensive and easy to remove and replace.
Think of the control panel and the timer as the brains of your washing machine. Electrical impulses are sent to various parts of your washing machine that tell it to wash, rinse, or spin. When any of these cycles are interrupted, something is wrong, and many times the timer motor is the reason.
The following information is specific to Whirlpool washing machines, but consumers who own other brands such as Maytag, Jenn-Air, or KitchenAid will find this article useful as well.
Symptoms
The timer won’t advance or it stalls at different points during the wash or spin cycle. Eventually, you turn the washing machine off either by advancing the timer knob or unplugging the machine from its power source.
Tools and Parts Needed for this Repair
- Philips head screwdriver
- Putty knife
- Needle-nose pliers
- Nut driver
- Timer
- Multimeter
How to Replace the Timer
Stop! Before beginning any work on any electrical appliance, remember to unplug it from its power source.
The timer knob is designed to tightly fit the shaft it is attached to. You can use a piece of cardboard and a flat head screwdriver to pry the timer off. Just work your way around the circumference of the knob until you can pull it away from its shaft. Remove the timer knob.
Depending on whether the control panel on your washing machine is equipped with end-caps, there are two ways to remove the control panel.
- If the panel does not have end-caps, use a putty knife to slip under each end of the control panel to unsnap it from its retaining clips.
- If the panel does have end-caps, remove the end-cap covers and you will see two screws that you will need to remove.
In either case, rotate the control panel up so you have access to the timer which is secured to the panel frame. Remove the two screws that hold the timer to the frame. Remove the wire harnesses that are connected to the old timer and fasten them to the new timer.
Reattach the timer with the two Philips screws to the panel frame. Rotate the control panel back in place and secure. Either snap the tabs back in place or replace the screws and end-caps. Reinstall the timer knob and plug the washer back in its power source.
Finally, throw a small load of laundry into the washer tub and do a test run to see if you’ve completed this repair.
If for some reason, after you have replaced the timer, you have diagnosed incorrectly, and the timer is still not advancing, take a look at the following troubleshooters.
Here are some more reasons which might stop your washer’s timer from advancing. Once again, ensure the machine is unplugged before attempting any of the following tests.
Lid Switch
- Found under the lid of the washer. Usually, some type of protrusion which signals the control panel to begin a wash cycle once the lid is closed.
- If the switch actuates, but the wash cycle does not begin, you could have a faulty lid switch.
- With the unit disconnected from its power source, remove the wires from the lid switch and test for continuity with a multimeter.
- Do not bypass the lid switch since it is a safety mechanism and could lead to serious injury.
Timer/Timer Motor
- Controls all aspects of your washer.
- The timer operates by a cam assembly that advances when the motor signals it to do so.
- If the timer is not advancing, the timer or motor may be the cause.
- With the power turned off, test the motor for continuity with a multimeter.
Water Level Control
- The timer controls when to send water to the tub and when to shut it off.
- If the washing machine fills with water and the timer does not advance, it may have a bad water level switch.
- The water level switch should be tested for continuity.
Timer Knob
- The timer knob turns as the washer moves through its cycles.
- Timer knobs are usually made of plastic and reinforced with a metal insert that attaches to the timer shaft.
- After years of use, the knob can break down and no longer turn in sync with the timer shaft which it is attached to.
- Once again, ensure the machine is unplugged from its power source before removing and replacing the timer knob.
Drain Pump
- Removes water from the tub at the end of a wash and rinse cycle.
- When the drain pump fails, the washer will not sense the tub is empty, and therefore, will not advance to the following cycle.
- Some electronic models or smart washers will flash a fault code that will tell you what the problem is.
For smart washers or washers that utilize electronic display, follow this link to a list of some of the more common fault codes you may encounter.
Water Inlet Valve
- The water inlet valve controls how much hot and cold water is dispensed into the washer tub during any wash and rinse cycle.
- If the timer does not advance through a fill or rinse cycle, the inlet valve may be the reason why.
- Make sure none of the hoses connected to the inlet valve are kinked or leaking.
- Ensure the valve screens are clean.
- Use a multimeter to verify that the water inlet valve solenoids have continuity.
888-453-7337Text or ring! ring!
Live ChatClick to say hi

Apr. 09, 2024
How to Fix the nF Error Code on a Samsung Washer

Apr. 09, 2024
Kenmore Elite Dryer Issues: How To Troubleshoot

Mar. 06, 2024
Microwave vs. Oven: Pros and Cons and How They Differ

Mar. 06, 2024
Self-Cleaning Oven Smell: Causes & Odor Reduction Tips

Mar. 06, 2024
Frigidaire Ice Maker Not Working? 7 Ways to Fix It

Feb. 05, 2024
Why Is Your LG Refrigerator Not Cooling? (9 Common Reasons)

Feb. 05, 2024
GE Oven F2 Error: Causes & Solutions

Jan. 03, 2024
How to Reset the Water Filter Light on a Samsung Refrigerator

Jan. 03, 2024
Maytag Washer Showing F5 Error Code? Here’s What To Do

Jan. 03, 2024


