

Fred's Appliance
November 6, 2023
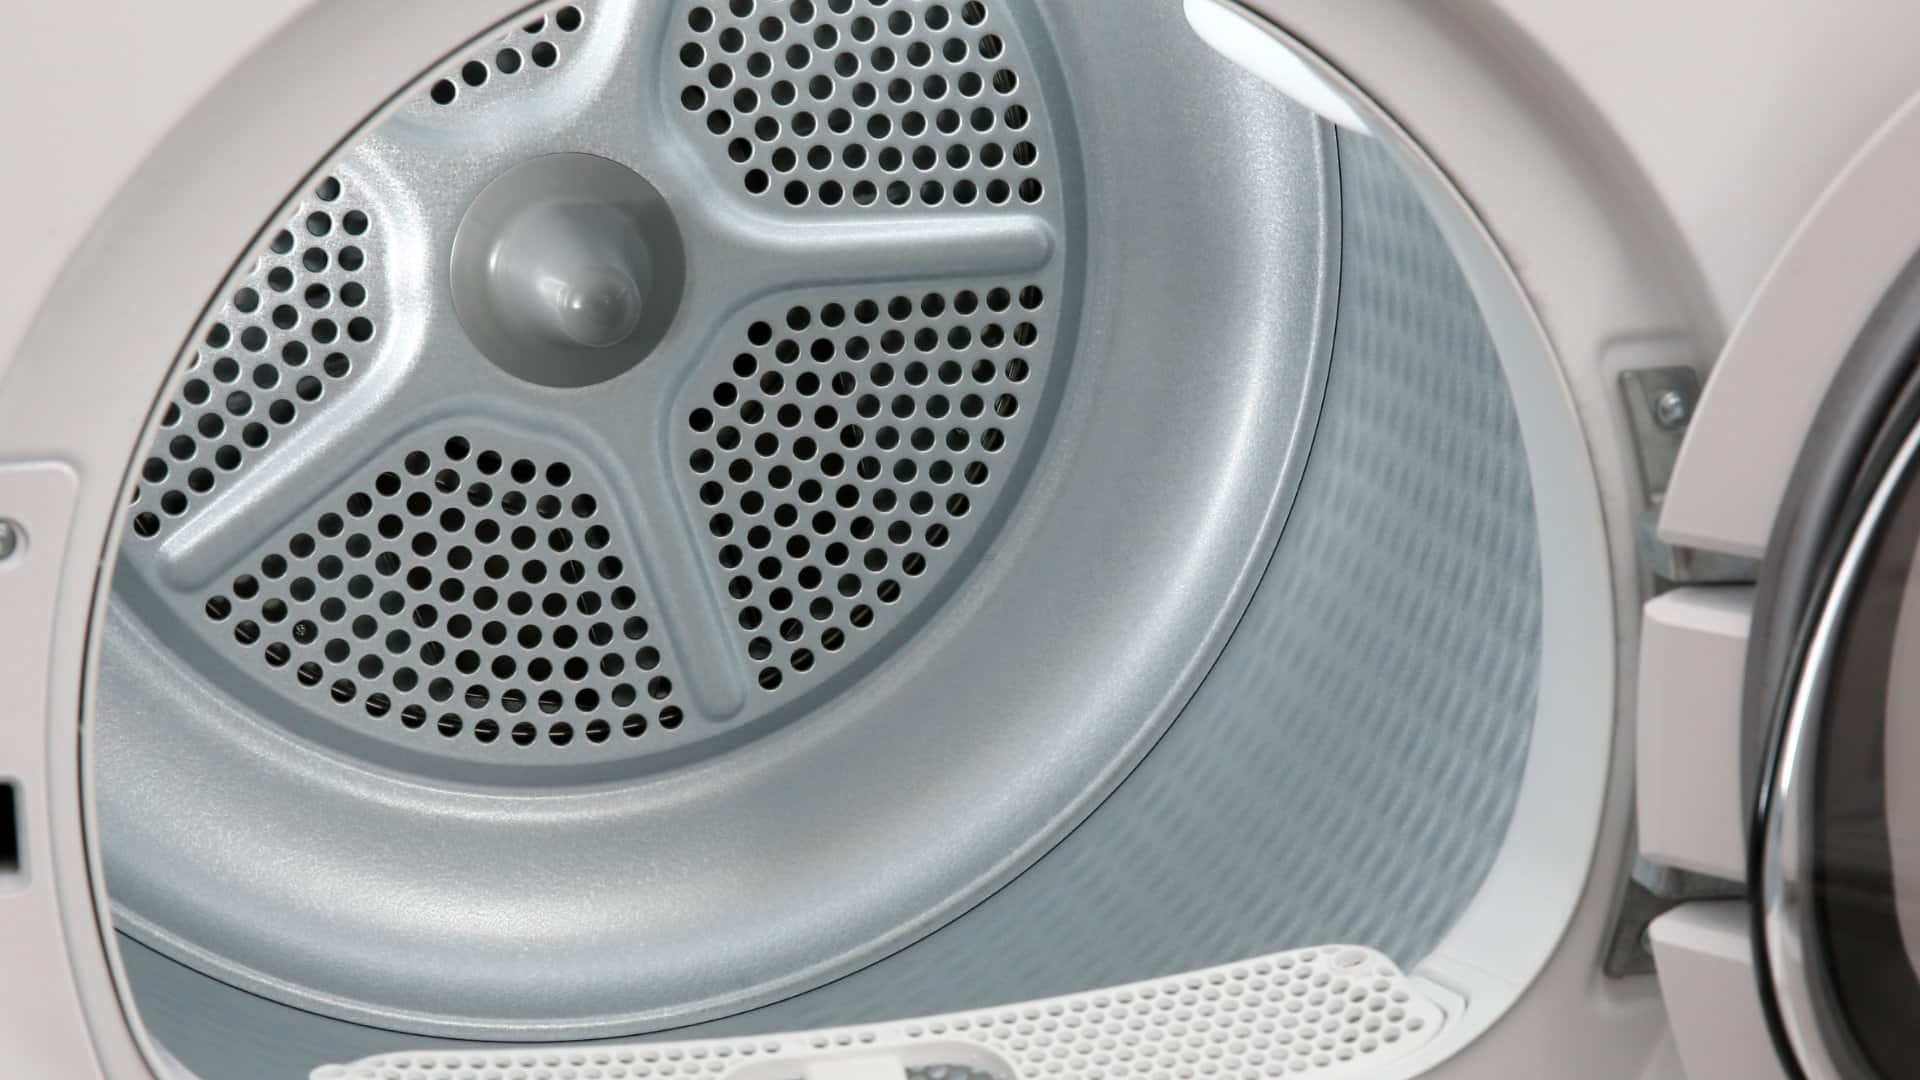
Dryer Repair
This comprehensive guide tells you how to replace a Samsung dryer heating element. Simply follow the instructions below to replace the element and get your appliance working again successfully.
When replacing the heating element in your Samsung dryer, it’s essential to take safety seriously. This means ensuring the proper disconnection and removing components like the control panel. If you don’t have experience working with electrical components, consider getting a technician to come and do this repair for you.
All major Samsung dryer models are covered by this guide, including:
DV203AEWXAA
DV203AGSXAA
DV203AGWXAA
DV206AESXAA
DV206AGSXAA
DV209AEWXAA
DV210AEW/XAA
DV210AEWXAA
DV210AGWXAA
DV218AEBXAA
DV220AEW/XAA
DV330AEW/XAA
DV350AEWXAA
DV419AEWXAA
DV42H5000EW/A3-0000
DV42H5200EP/A3-0000
DV42H5200EW/A3-0000
DV448AEP/XAA
DV448AEPXAA
DV45H7000EW/A2-0000
DV48H7400EW/A2-0000
1. Move Your Dryer
The first phase of this process entails moving your dryer so you can work on it. To begin, carefully move your dryer away from the wall, or if it’s wall-mounted, you will need to detach it. If your dryer is equipped with a vent hose, disconnect it. Switch off the power by unplugging the dryer from its electrical source.
2. Remove the Back Cover
Now that your dryer is safely disconnected from the vent and power supply, you can locate the heating element. This involves taking off the back cover, which conceals the element. To do this, carefully unfasten the screws that secure the back cover in place, and the panel should unclip. After removal, set it aside and ensure the screws are kept in a secure location for reassembly.
3. Disconnect the Control Panel
The next step entails the disassembly of the control panel from your dryer. Begin by unthreading the screws that hold it in position, allowing you to gently move it out of position and unclip the wire harnesses. Once the harnesses are detached, remove the panel from your dryer and place it aside with the screws for reassembly.
4. Remove the Front Panel
After gaining access to the heating element by removing the back cover and disconnecting the control panel, it’s time to remove the front panel. Begin by opening the dryer door and removing the lint filter/trap. Beneath the filter, you’ll find a couple of screws that need to be unscrewed. Once removed, place the filter and screws aside safely. Now that the front panel is removed, you can access the heating element unit.
5. Disconnect the Power Terminals
Identify the heating element unit within the dryer and disconnect its power terminals. There should be a total of six terminals. There’s no need to stress about recalling where each one attaches to the heating element, as they each have slightly different connectors.
6. Remove the Heating Element
Having successfully disconnected the power terminals, the next task is to remove the heating element. This can be achieved by unscrewing the single screw that secures it in place. Once the element is removed, detach the thermostat from it by unthreading the four screws holding it. Remember to safely store the screws, as they may need to be used for installing the new element.
7. Connect the Thermostat to the New Element
To install the new heating element into your Samsung dryer, the first task is to attach the thermostat to the new element using the four screws you removed earlier. If you possess a multimeter, it’s advisable to test the thermostat to ensure continuity. If it’s defective, you’ll need to replace it. However, you can proceed without this test if you don’t have a multimeter.
8. Install the New Heating Element
Retrieve the new heating element from its packaging and position it within your Samsung dryer. Secure it in place using the screw you removed earlier, or use the new screw provided with the new heating element. After securely fastening the element, reconnect the wire terminals to it.
9. Reassemble the Front Panel
With the heating element successfully installed, it’s time to reassemble your dryer. Start by placing the front panel back onto the dryer and securing it using the screws you removed earlier. Then, reinsert the lint filter/trap into your dryer.
10. Reattach the Control Panel
Once the front panel is securely in place, reconnect the wire harnesses to the control panel and position it correctly in place. Secure the control panel by clipping it into position and then secure it with the screws you removed earlier.
11. Reattach the Top and Back Panels
The next step is to reattach the top and back covers. Once in position, secure them with the screws you removed earlier. Double-check that all panels are attached correctly before moving on to the final step.
12. Reconnect the Vent and Power
To conclude this repair, reconnect the exhaust vent to your dryer and switch the power back on. Place your dryer back in its regular position and turn it on to test the new heating element’s functionality. You can confidently resume using your Samsung dryer if everything is in working order. If the new heating element doesn’t operate correctly, you will need to call a technician to come and inspect your dryer.
888-453-7337Text or ring! ring!
Live ChatClick to say hi
May. 06, 2024
Whirlpool Washer Error Codes Explained
May. 06, 2024
How to Wash a Hat in the Dishwasher (In 5 Steps)

Apr. 09, 2024
How to Fix the nF Error Code on a Samsung Washer

Apr. 09, 2024
Kenmore Elite Dryer Issues: How To Troubleshoot

Mar. 06, 2024
Microwave vs. Oven: Pros and Cons and How They Differ

Mar. 06, 2024
Self-Cleaning Oven Smell: Causes & Odor Reduction Tips

Mar. 06, 2024
Frigidaire Ice Maker Not Working? 7 Ways to Fix It

Feb. 05, 2024
Why Is Your LG Refrigerator Not Cooling? (9 Common Reasons)

Feb. 05, 2024
GE Oven F2 Error: Causes & Solutions

Jan. 03, 2024


