

Fred's Appliance
November 6, 2023
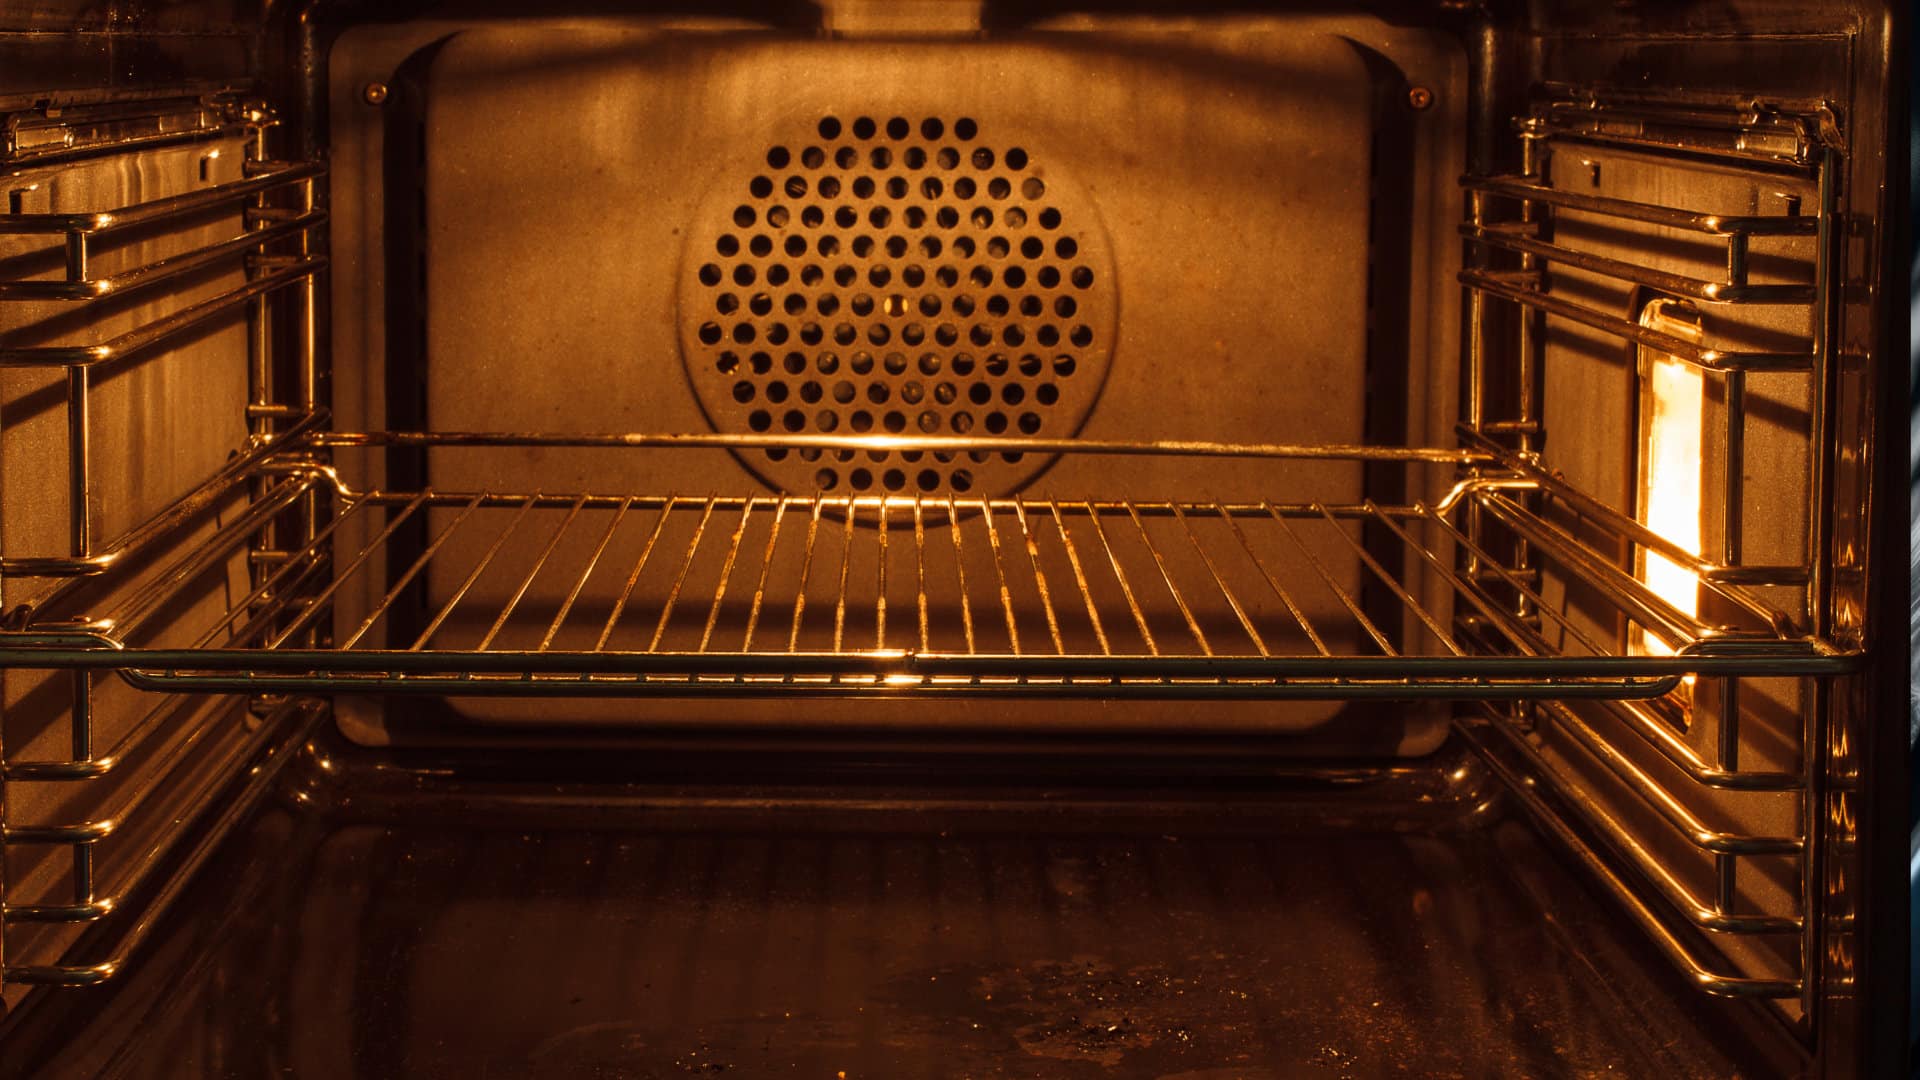
Oven Repair
It’s not uncommon for your oven to make a clicking sound every now and then. However, if the noise is frequent, it could indicate a serious problem that must be addressed.
In this guide, we have laid out what to do if your oven is making a clicking noise, depending on whether your oven is gas or electric-powered.
Gas Oven Making a Clicking Noise
If your gas oven is making a clicking noise, diagnosing and addressing the issue is essential. Follow these step-by-step instructions to resolve the problem.
Step 1 – Realign the Burner Cap
The first step is to realign the burner caps on the stove top burners. If the burner caps are aligned incorrectly, gas might not be able to come out correctly, and the burner will not ignite. Instead, you will hear a clicking sound from the igniter.
Here’s what to do:
- Wait for the stove to cool completely.
- Remove the burner grate.
- Realign the caps to the center.
- Attempt to ignite the gas stove.
- If it remains unresponsive, proceed to step 2.
Step 2 – Clean and Dry the Burners
If the burners are dirty or wet (in both the oven and stove), the gas might not ignite. This will cause the igniter to click continuously.
Here’s what to do:
- Wait for the stovetop and oven to cool completely.
- Remove the burner grates and the caps of the burners on the stovetop.
- Clear any loose food debris and ensure the knob turns correctly.
- Remove the burners inside the oven and thoroughly clean them before placing them back into the oven.
- Allow them to air dry or run the oven at a high temperature for about 30 minutes to aid drying.
- Once dry, test if the gas now ignites. If not, move on to step 3.
Step 3 – Check the Gas Supply
If the gas supply isn’t working correctly, the burners cannot ignite. Instead, you will hear a continuous clicking noise. This step can be skipped if you can smell gas coming out of your oven or burners when you attempt to ignite them.
Here’s what you need to do:
- Lift the grate off the burners.
- Remove the burner caps (you might need to remove some screws).
- Locate the small hole at the back of the burner responsible for feeding gas to the igniter.
- Clean this hole with a toothpick or needle.
- Reattach the burner and check if it ignites. If not, proceed to the next step.
Step 4 – Check the Spark Igniter Connections
The spark igniter connections can become defective and prevent your gas oven from igniting. This will result in hearing a continuous clicking noise.
Here’s what to do:
- Unplug the oven from the wall.
- Remove the burner head.
- Inspect the wires connecting to the burner head for damage; replace them if necessary.
- Ensure that the connections are secure; tighten or replace them if loose.
- Reassemble the stove, plug it in, and check if the issue is resolved. If not, proceed to the final step.
Step 5 – Replace the Igniter
The last step is to replace the igniter. Hopefully, This will fix the issue, and you can start using your gas oven again.
Here’s what to do:
- Turn off the power and gas supply to the stove.
- Lift the burner head off the stove.
- Locate the igniter (consult your user manual if required).
- Disconnect wires from the old igniter and check for damage. If damaged, replace damaged wires.
- Disconnect the old igniter.
- Attach the new igniter by connecting the wires and positioning it where the old one was.
- Reassemble the stove, turn the power back on, and test if the problem has been resolved. Your gas stove should now operate correctly. If you can still hear a continuous clicking sound, you will need to get a technician to come and inspect your oven.
Electric Oven Making a Clicking Noise
While it’s more common for gas ovens to make clicking noises, electric ovens can sometimes too. If your electric oven is making a clicking noise, it’s likely due to a faulty relay board or heating element. In both cases, the component will likely need to be replaced.
Step 1 – Check the Relay Board
The first component to check is the relay board. The relay board in an oven is one of its most active electrical components. Sometimes, the board can fail prematurely due to the continuous temperature and electricity regulation demands it faces. This can result in constant clicking noises as the relay board attempts to manage the electrical flow.
Here’s how to check the relay board:
- Switch the power off to your oven.
- Locate the relay board. It can usually be found behind the rear panel.
- Once located, check the relay board for continuity using a multimeter.
- If you receive a positive reading, proceed to step 2. If you receive a negative reading, inspect the cable connections to ensure they are secure, or consider replacing the relay board entirely. Typically, an oven’s relay board lasts around ten years. If your oven is over a decade old, replacing the entire unit rather than individual components may be more cost-effective.
- Once replaced, check if the clicking sound has stopped. If not, proceed to step 2.
Step 2 – Check the Heating Element
A faulty heating element can also trigger persistent clicking noises as the relay board tirelessly tries to heat it.
Here’s how to check the heating element:
- Switch the power off to your oven.
- Before checking the heating element, ensure your oven has completely cooled down.
- Locate the heating element in your oven.
- Check the heating element for signs of damage, such as blisters or cracks. If damaged, it will need to be replaced.
- If there is no obvious damage, test the heating element for continuity using a multimeter.
- If you receive a positive reading, the element is not defective. If you receive a negative reading, the heating element is defective and must be replaced.
- If the heating element isn’t defective or replacing it doesn’t stop the clicking noise, you will need to get a technician to come and inspect your oven.
888-453-7337Text or ring! ring!
Live ChatClick to say hi
May. 06, 2024
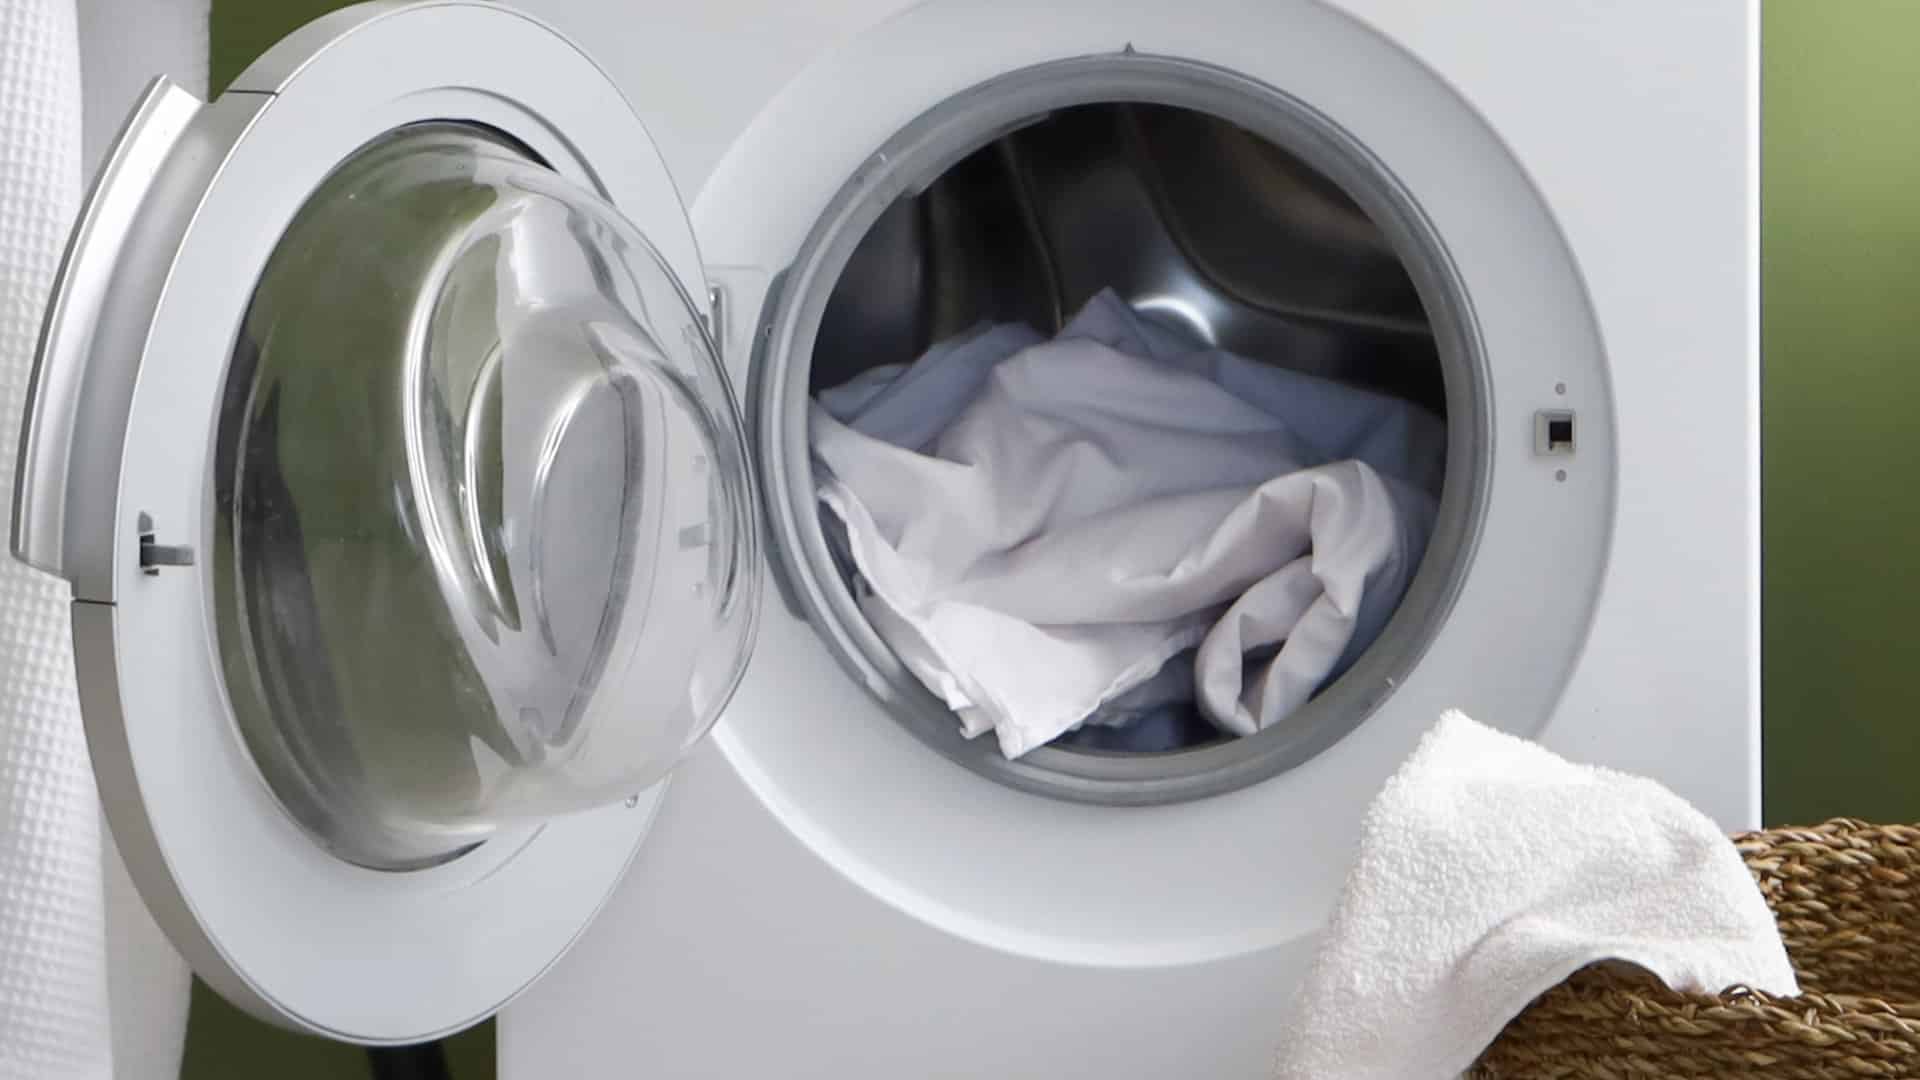
Whirlpool Washer Error Codes Explained
May. 06, 2024
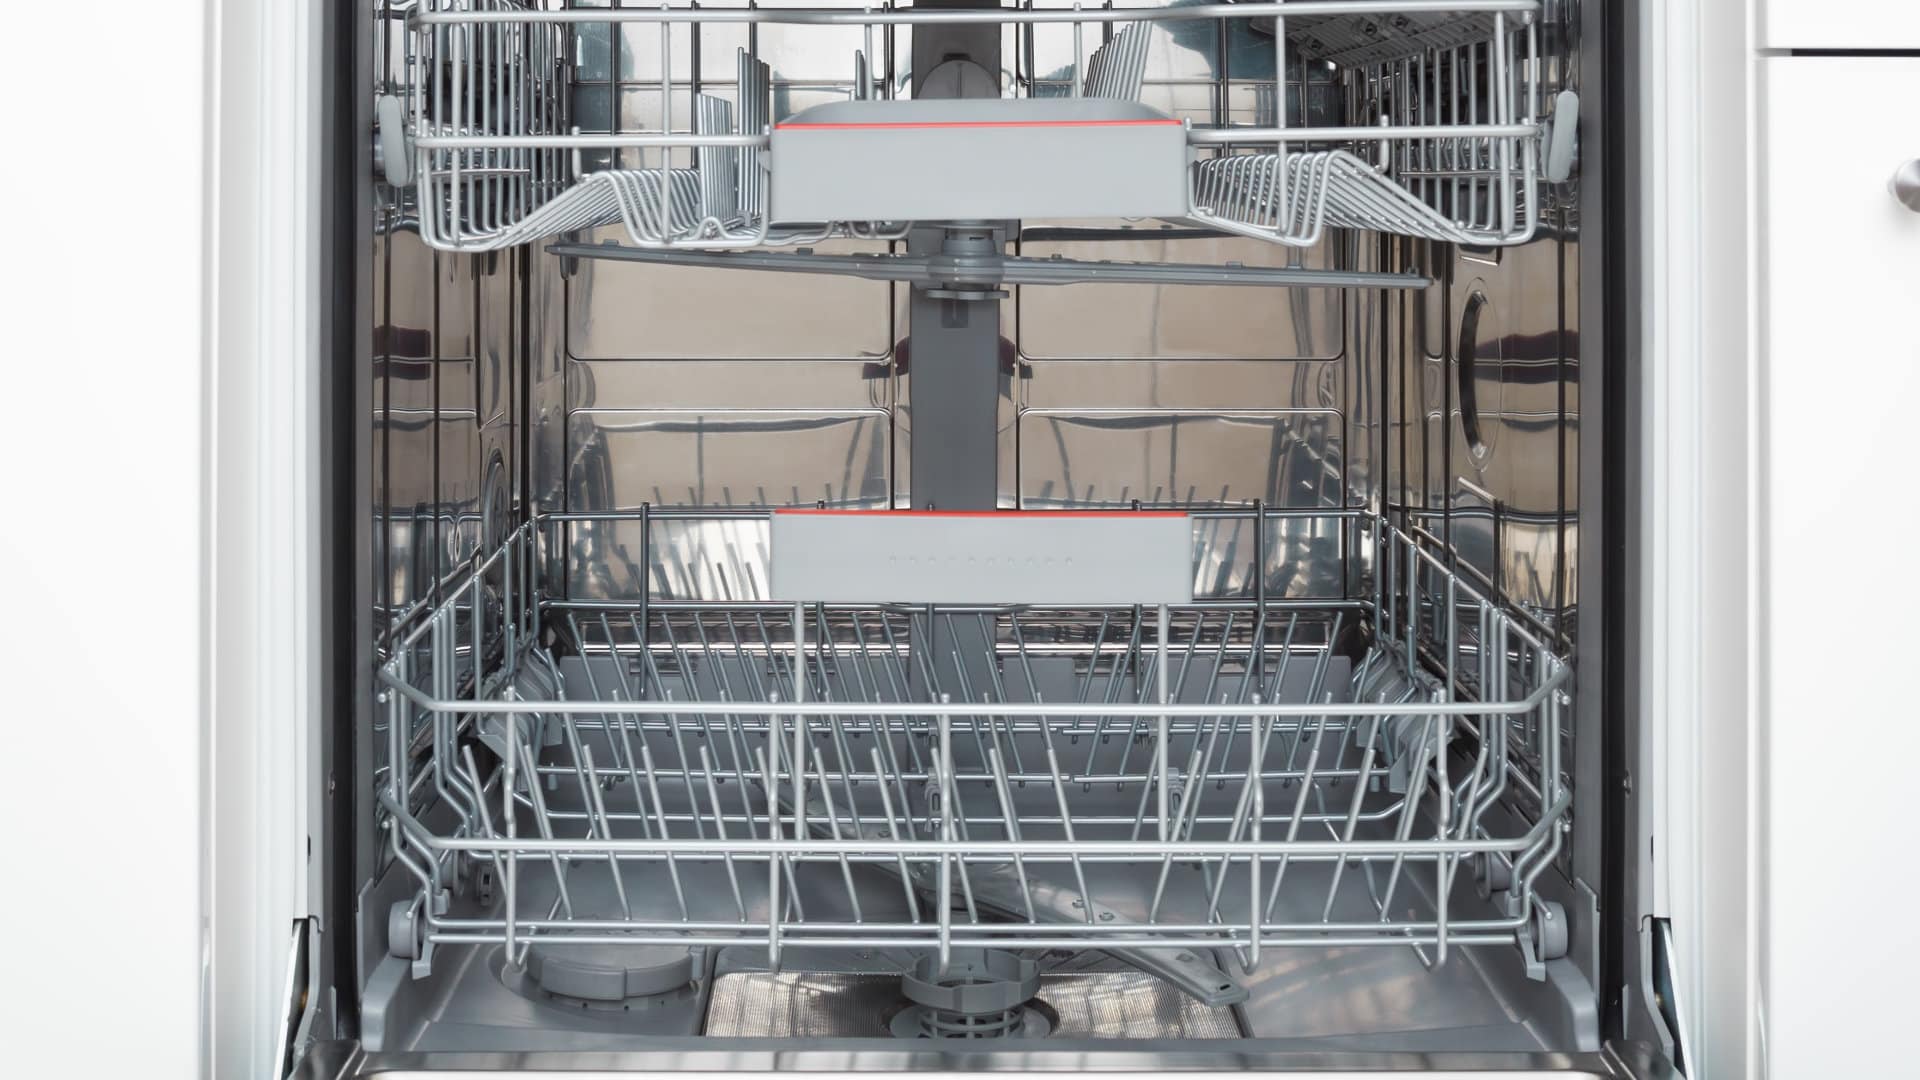
How to Wash a Hat in the Dishwasher (In 5 Steps)

Apr. 09, 2024
How to Fix the nF Error Code on a Samsung Washer

Apr. 09, 2024
Kenmore Elite Dryer Issues: How To Troubleshoot

Mar. 06, 2024
Microwave vs. Oven: Pros and Cons and How They Differ

Mar. 06, 2024
Self-Cleaning Oven Smell: Causes & Odor Reduction Tips

Mar. 06, 2024
Frigidaire Ice Maker Not Working? 7 Ways to Fix It

Feb. 05, 2024
Why Is Your LG Refrigerator Not Cooling? (9 Common Reasons)

Feb. 05, 2024
GE Oven F2 Error: Causes & Solutions

Jan. 03, 2024


