

Fred's Appliance
February 13, 2019
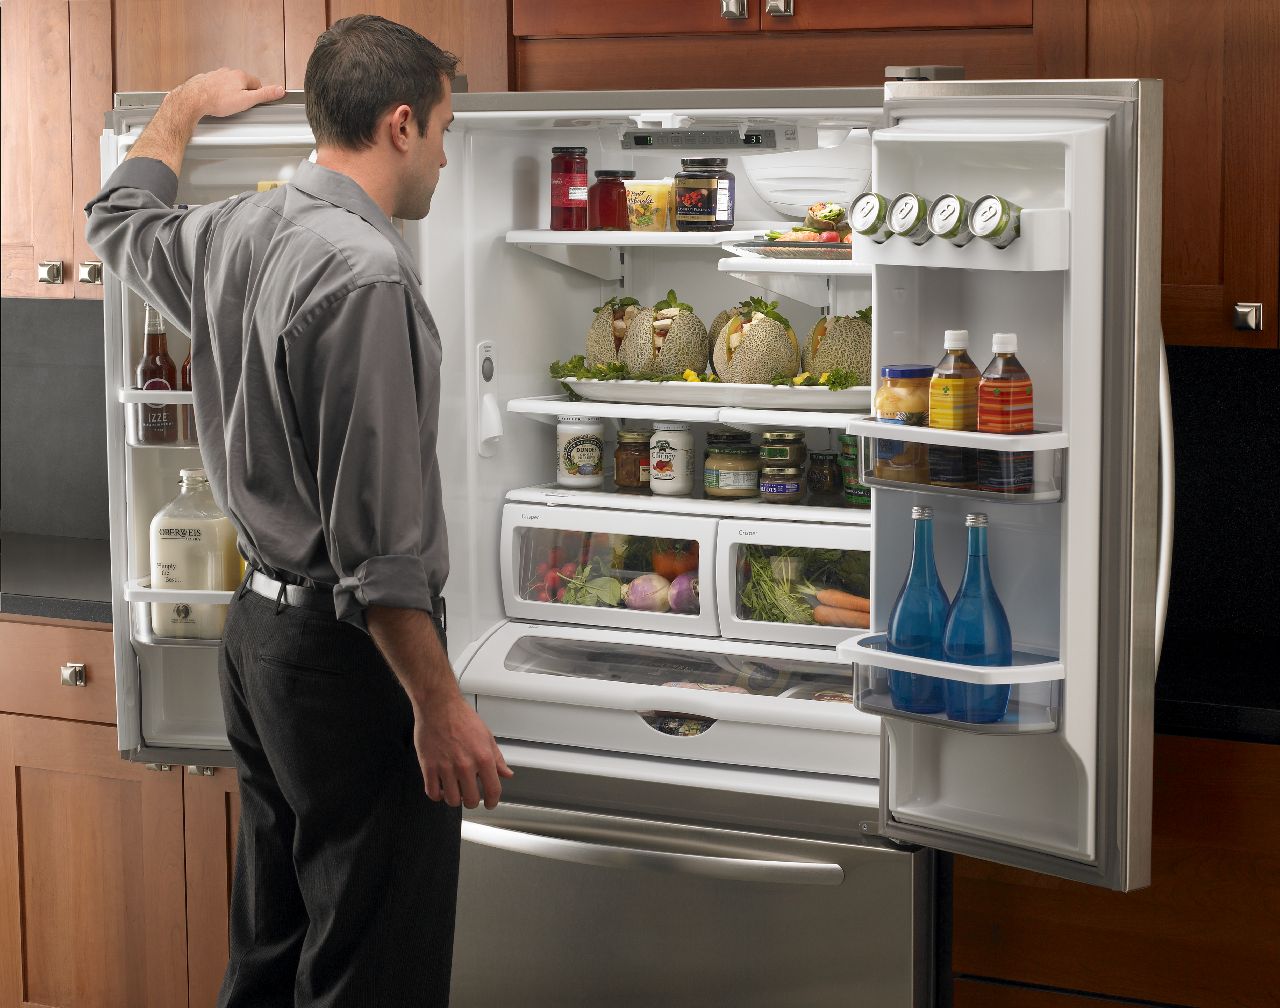
Refrigerator Repair
If you have a leak in the inside of your Whirlpool refrigerator, the water tank and filter head assembly could be at fault. This is the part that connects the water supply line behind your refrigerator to the filter and then to the inlet valve. If you live in an area with hard water, buildup can clog or crack through the tubing. Replace the assembly by ordering part #WP12956202. Then follow these steps to do the job yourself.
1. Unplug the refrigerator and turn off the water supply.
Any time you repair an appliance, unplug the machine first. Because you’re replacing part of the water system, turn off the water supply at the local shut-off valve behind the fridge, too. You’re even going to be replacing the part that connects directly to the supply line. So disconnect the supply line from the water inlet valve at the base of the refrigerator while you’re behind the appliance.
2. Dismantle the refrigerator interior.
The assembly is mostly inside of the refrigerator, so you have to dismantle some of the inner paneling
Next, locate the water filter cover at the top of the refrigerator. Press down the tab to open the covers. Turn the filter counterclockwise and fully remove it. Press the back of the cover panel free of the hinge pin and then pull the whole cover panel out of the refrigerator. Set it aside
Next, you will be removing the interior access panel in the middle of the right back paneling inside the refrigerator. This is the panel with the four small holes around the perimeter. To remove it, insert a flathead screwdriver into each of the holes to depress the locking tabs. For the top two holes, press in towards the opposite hole. For the two lower holes, press the screwdriver down to disengage the tabs. Tilt the panel down and wiggle the bottom free from its mounting tabs. Set the panel aside.
After that, remove the upper access panel. All you have to do is insert your screwdriver into the central hole along the bottom and disengage the locking tab by pushing it up. Then just pull the panel out and set it aside
3. Remove the old water tank and filter head.
The water tank may still have water in it. Before you start removing it, set a towel at the bottom of the refrigerator to catch any leaks. Then start to remove the old parts
Next, press down the tabs at the top of the blue water inlet valve so you can pull the small tube free from the top. Once it’s free, you can remove the transparent support housing around the tube. Also, pull the water line to the left out of the mounting tabs. Then separate the housing bracket completely from around the filter head and set the housing aside
Move to the rear of the refrigerator and locate the water inlet tube that you disconnected at the start of the repair. Loosen the screw that holds the tube in place. Push it down and remove the plastic retaining clip from around the tube. Then remove all the screws holding the lower rear access panel in place. Set the panel aside
4. Install the new water tank and filter head.
Push the inlet tube into the hole at the bottom of the refrigerator. Feed as much of the length through the hole as possible.
Next, align the new water tank in the back of the refrigerator so the inlet tube is to the right. Press the columns of the water tank into the retaining clips until you hear them click and engage. You may have to do one column at a time to make sure everything fits properly. Return to the rear of the refrigerator. Remove the protective cover at the end of the new inlet tube. Then put the old plastic retainer clip on the new tube
After that, attach the water inlet’s retaining clip to the middle of the panel and attach the inlet tube itself to the water supply line.
Go back to the front of the refrigerator
Now you can install the new filter head attached to the water tank. Take the transport tube support from the old assembly and attach it to the filter head’s inlet tube. Also, attach the filter housing to the filter head. It should snap into place around the arms at the top of the filter head.
After that, reattach the water tube to the inlet valve. Pry the blue valve slightly forward so you have more room. Then push the tube firmly into the valve. It should go all the way in until you reach the wider portion of the tube. Then push the valve back into place
4. Reassemble the refrigerator interior.
Start by reattaching the upper inner access panel. Hook the top of the panel over the arms near the filter head assembly. Then swing the panel until its flush with the pack of the refrigerator. Press it firmly into place. Next, install the lower cover. Slip the bottom of the panel into the groove, and then press the rest of the panel flush with the back of the refrigerator until the locking tabs engage
After that, install the water filter housing cover. there is a hinge pin on either side of the filter head housing. Slide the matching hole of the hinge at the back of the water filter cover over one arm. Then slightly stretch the other side of the cover to reach around and grab the hinge arm on the other side. Be careful that you don’t crack the plastic. Before you reattach the water filter, twist and remove the bypass cap inside the filter head. Twist the water filter into the new filter head clockwise. Then snap the water filter cover shut. Reinstall the shelves, shut the doors, and plug the refrigerator in.
Also, turn the water supply back on. If you have more appliances you want to repair, browse our repair guides or contact our team at Fred’s Appliance Service.
888-453-7337Text or ring! ring!
Live ChatClick to say hi
May. 06, 2024
Whirlpool Washer Error Codes Explained
May. 06, 2024
How to Wash a Hat in the Dishwasher (In 5 Steps)

Apr. 09, 2024
How to Fix the nF Error Code on a Samsung Washer

Apr. 09, 2024
Kenmore Elite Dryer Issues: How To Troubleshoot

Mar. 06, 2024
Microwave vs. Oven: Pros and Cons and How They Differ

Mar. 06, 2024
Self-Cleaning Oven Smell: Causes & Odor Reduction Tips

Mar. 06, 2024
Frigidaire Ice Maker Not Working? 7 Ways to Fix It

Feb. 05, 2024
Why Is Your LG Refrigerator Not Cooling? (9 Common Reasons)

Feb. 05, 2024
GE Oven F2 Error: Causes & Solutions

Jan. 03, 2024


